章节 11:追加细节(Add The Sprinkles)
从业务角度来看,我们的费用管理模块现在已经颇具意义了。我们创建了特定的视图,添加了多个操作按钮以及约束条件。然而,我们的用户界面仍然有些粗糙。我们希望为列表视图增添一些色彩,并让某些字段和按钮根据条件显示或隐藏。例如,当项目已禁用或已启用时,“作废” 和 “启用” 按钮应该消失,因为在这种情况下,已经不允许再更改项目状态了。
本章仅涵盖了视图方面可实现功能的一小部分内容。如果想获取更全面的概述,请毫不犹豫地阅读参考文档。
参考:与本章相关的文档可在 “视图记录” 和 “视图架构” 中找到。
一、内联视图
目标:在本节结束时
应在项目类型视图中添加一个特定的项目信息列表:
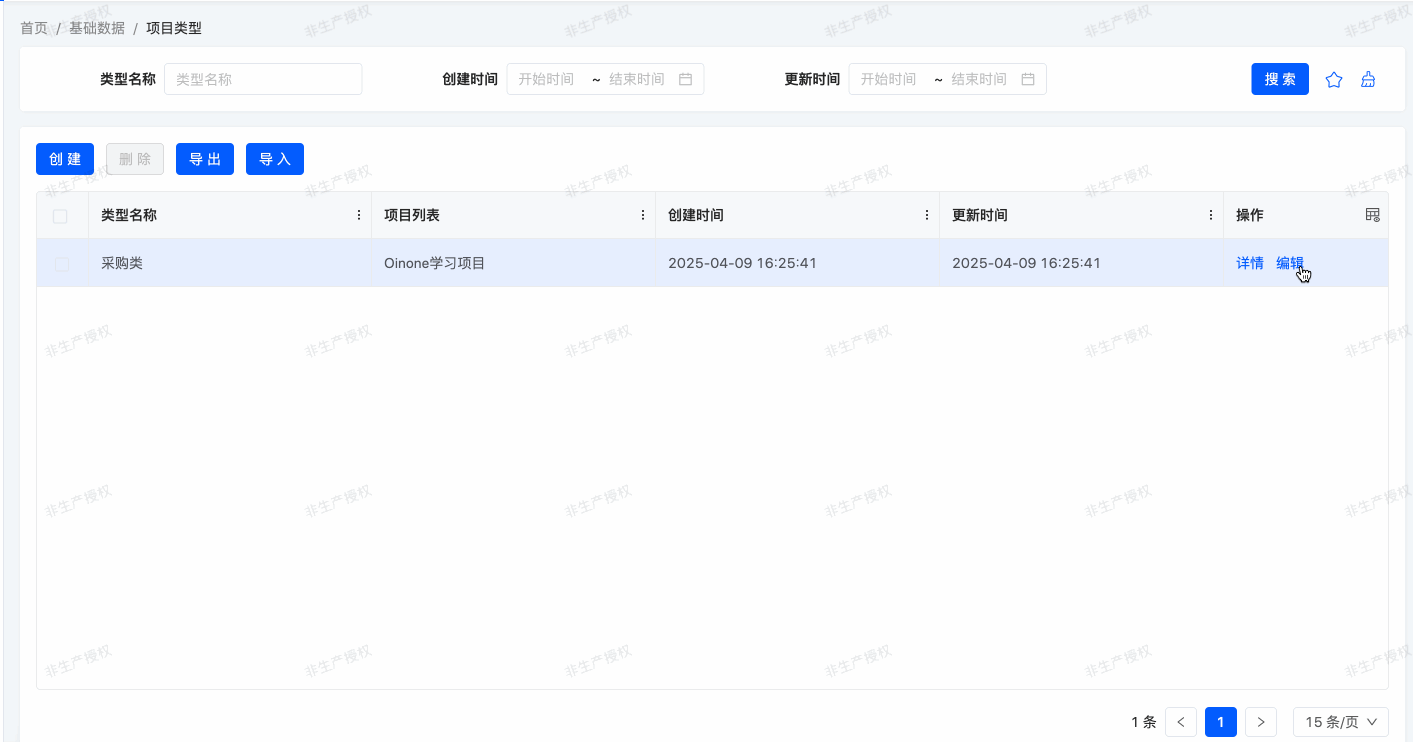
在费用管理模块中,我们为项目信息添加了一个报销列表。我们只是简单地以默认视图作为参照来添加 expenseBills 字段:
<field widget="Table" priority="113" data="expenseBills" label="false">
    <view type="TABLE" cols="2" model="expenses.ExpenseBill" enableSequence="false">
        <template slot="actions">
            <action name="internalGotoO2MCreateDialogFromProjectInfoFromExpenses" type="primary"/>
            <action name="internalDeleteOne" type="primary"/>
        </template>
        <template slot="rowActions">
            <action name="enabled" type="primary" refreshRoot = "true"/>
            <action name="disabled" type="primary" refreshRoot = "true"/>
            <action name="internalGotoO2MEditDialogFromProjectInfoFromExpenses" type="primary"/>
            <action name="internalDeleteOne" type="primary"/>
        </template>
        <template slot="fields">
            <field span="1" invisible="true" priority="5" data="id" label="ID" readonly="true"/>
            <field span="1" priority="102" data="projectInfoId" label="项目Id"/>
            <field span="1" priority="103" data="code" label="报销单号"/>
            <field span="1" priority="102" data="status" label="状态"/>
            <field span="1" priority="104" data="item" label="费用项"/>
            <field span="1" priority="105" data="reason" label="事由"/>
            <field span="1" priority="106" data="amount" label="报销金额"/>
            <field span="1" offset="0" widget="Upload" priority="107" data="attachment" label="附件(电子发票)" queryMode="DOMAIN"/>
            <field span="1" priority="200" data="createDate" label="创建时间" readonly="true"/>
            <field span="1" priority="210" data="writeDate" label="更新时间" readonly="true"/>
            <field span="1" priority="220" data="createUid" label="创建人ID"/>
            <field span="1" priority="230" data="writeUid" label="更新人ID"/>
        </template>
        <template slot="search" autoFill="true" cols="4"/>
    </view>
    <options>
        <option references="expenses.ExpenseBill" referencesModelName="expenseBill" referencesModuleName="expenses" referencesType="STORE" referencesPks="id" referencesLabelFields="item">
            <field name="item" data="item" label="费用项" ttype="STRING" store="true" relationStore="false"/>
            <field name="id" data="id" label="ID" ttype="INTEGER" store="true" relationStore="false"/>
        </option>
    </options>
</field>
在某些情况下,我们希望定义一个仅在表单或详情视图上下文中使用的特定列表视图。例如,我们想要在详情视图显示与某种项目类型相关联的项目列表。然而,为了清晰起见,我们只想显示三个字段:名称、预算和状态。
为了实现这一点,我们可以定义内联列表视图。内联列表视图是直接在详细视图中定义的。例如:
package pro.shushi.oinone.trutorials.expenses.api.model;
//……
@Model.model(TestLineMainModel.MODEL_MODEL)
@Model(displayName = "测试内嵌子模型")
public class TestLineMainModel extends IdModel {
    public static final String MODEL_MODEL="expenses.TestLineMainModel";

    @Field(displayName = "description")
    private String description;

    @Field(displayName = "lines")
    @Field.one2many
    private List<TestLineSubModel> lines;

}
package pro.shushi.oinone.trutorials.expenses.api.model;
//……
@Model.model(TestLineSubModel.MODEL_MODEL)
@Model(displayName = "测试内嵌子模型")
public class TestLineSubModel extends IdModel {
public static final String MODEL_MODEL="expenses.TestLineSubModel";
@Field(displayName = "字段一")
private String field1;
@Field(displayName = "字段二")
private String field2;
@Field(displayName = "字段三")
private String field3;
}<view name="detailView" type="DETAIL" cols="2" model="expenses.TestLineMainModel">
<template slot="actions" autoFill="true"/>
<template slot="fields">
<pack widget="group" title="基础信息">
<field span="1" invisible="true" priority="5" data="id" label="ID" readonly="true"/>
<field span="1" priority="101" data="description" label="description"/>
</pack>
<pack widget="tabs" cols="2">
<pack widget="tab" title="lines">
<field widget="Table" priority="102" data="lines" label="false">
<view type="TABLE" cols="2" model="expenses.TestLineSubModel" enableSequence="false" operation="false">
<template slot="fields">
<field span="1" invisible="true" priority="5" data="id" label="ID" readonly="true"/>
<field span="1" priority="101" data="field1" label="字段一"/>
<field span="1" priority="102" data="field2" label="字段二"/>
</template>
</view>
</field>
</pack>
</pack>
</template>
</view>在 expenses.TestLineMainModel 的详情视图中,我们为 expenses.TestLineSubModel 定义了一个包含 field1 和 field2 字段的特定列表视图。
练习(Exercise)
添加一个内联列表视图。
- 向
expenses.ProjectType模型添加one2many字段projects。- 按照本节目标中所述,自定义
expenses.ProjectType的详情视图,并在视图中添加该字段。
二、组件widget
目标:在本节结束时
项目的是否为重点项目应使用特定的widget进行显示:
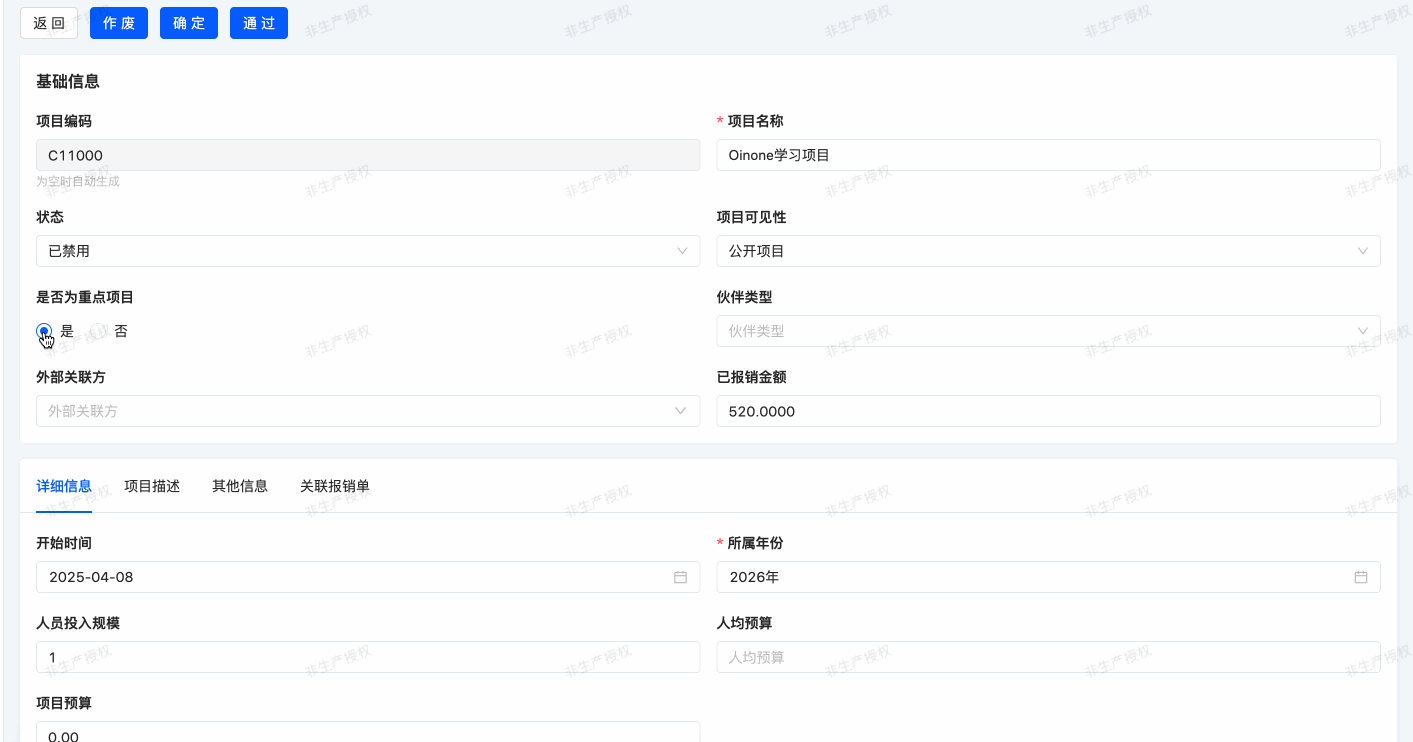
将显示两种选项:是、否。
每当我们向模型中添加字段时,(几乎)从未需要担心这些字段在用户界面中的显示方式。例如,Date 字段会提供一个日期选择器,one2many 字段会自动显示为列表。Oinone 会根据字段类型选择合适的 “widget”。 然而,在某些情况下,我们希望对字段进行特定的展示,这可以通过 widget 属性来实现。当我们使用 widget="Checkbox" 属性时,就已经在 partners 字段中使用过它了。如果我们没有使用该属性,那么该字段将显示为下拉框。
每种字段类型都有一组可用于微调其显示效果的widget。有些widget还接受额外的选项。完整的列表可在 “字段” 中找到。
练习(Exercise)
使用单选框widget。
按照本节目标中所述,使用
Radiowidget来显示expenses.ProjectInfo的是否为重点项目。
三、表格排序
目标:在本节结束时
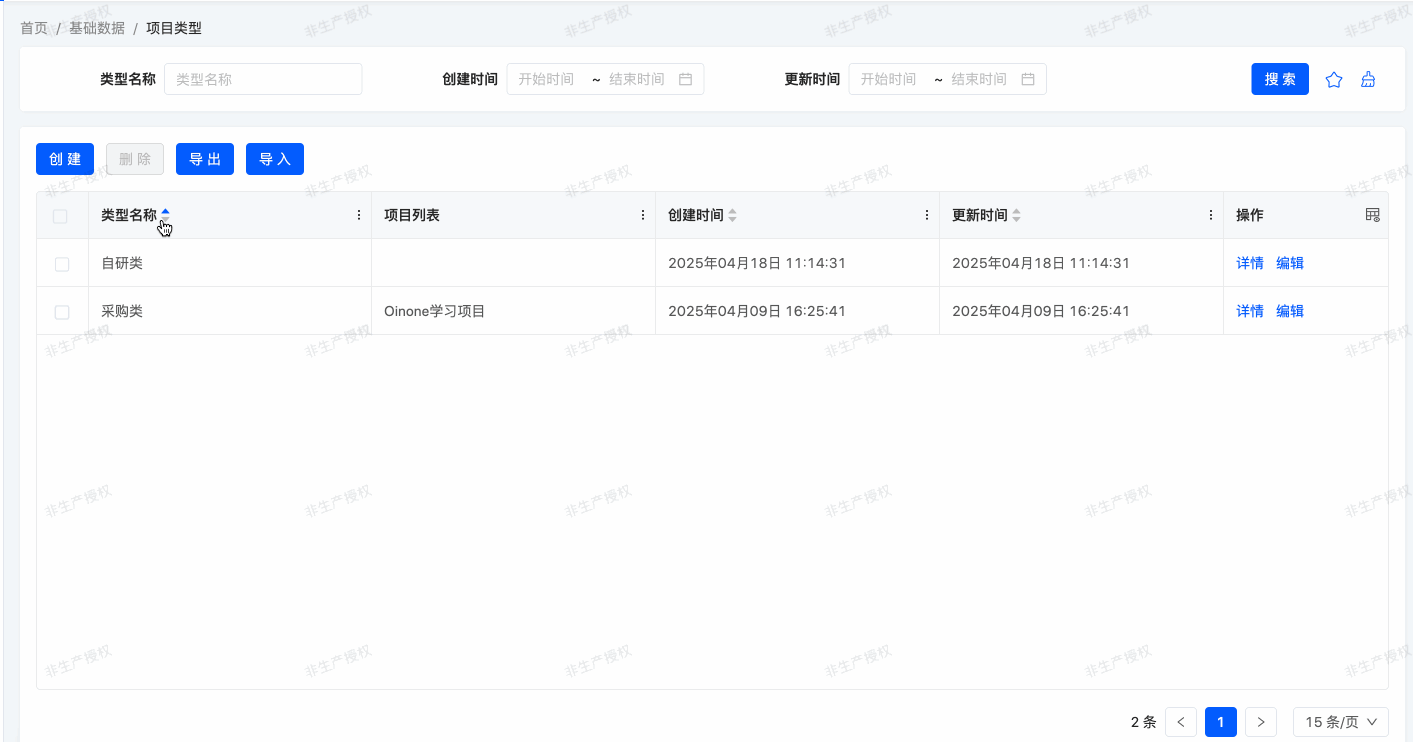
所有列表应默认以确定的顺序显示。项目类型可以手动排序。
在之前的练习中,我们创建了多个列表视图。然而,我们从未指定过记录默认的排列顺序。对于许多业务场景来说,这是非常重要的一点。例如,在我们的费用管理模块中,我们希望将最高报销显示在列表的顶部。
(一)模型
Oinone 提供了多种设置默认排序顺序的方式。其中,最为常用的方式是在模型里直接定义 ordering 属性。通过这种方式,检索到的记录会按照既定的顺序排列,并且在所有视图中(包括以编程方式搜索记录时)都能保持一致。
默认情况下,即便没有指定排序顺序,记录也不会以不确定的顺序被检索。这是因为在本教程里,所有模型都继承自 base.IdModel,而 base.IdModel 中定义了 ordering = "createDate DESC, id DESC"。在后续的培训章节中,我们会详细阐述模型继承的相关内容。
ordering 属性接受一个字符串,该字符串包含用于排序的字段列表。它将被转换为 SQL 中的 order by 子句。例如:
……
@Model.Advanced(ordering = "code desc")
public class TestModel extends IdModel {
    ……
}
我们的记录按 code 降序排列,即 code 最大的记录排在最前面。
练习(Exercise)
添加模型排序。
在相应的模型中定义以下顺序:
| 模型 | 顺序 |
|---|---|
| expenses.ProjectInfo | 按 名称 |
| expenses.ProjectType | 按 名称 |
| expenses.ExpenseBill | 按 报销金额降序 |
(二)视图
可以在模型级别进行排序。这样做的优点是,在检索记录列表的任何地方,顺序都是一致的。然而,也可以通过 ordering 属性直接在视图中定义特定的顺序。例如:
<view name="detailView" type="DETAIL" cols="2" model="expenses.TestLineMainModel">
    <template slot="actions" autoFill="true"/>
    <template slot="fields">
        <pack widget="group" title="基础信息">
            <field span="1" invisible="true" priority="5" data="id" label="ID" readonly="true"/>
            <field span="1" priority="101" data="description" label="description"/>
        </pack>
        <pack widget="tabs" cols="2">
            <pack widget="tab" title="lines">
                <field widget="Table" priority="102" data="lines" label="false">
                    <view type="TABLE" cols="2" model="expenses.TestLineSubModel" enableSequence="false" operation="false" >
                        <template slot="table" sortable="true" ordering="field1 desc"/>
                        <template slot="fields">
                            <field span="1" invisible="true" priority="5" data="id" label="ID" readonly="true"/>
                            <field span="1" priority="101" data="field1" label="字段一"/>
                            <field span="1" priority="102" data="field2" label="字段二"/>
                        </template>
                    </view>
                </field>
            </pack>
        </pack>
    </template>
</view>
为给 Table 组件(Table widget)添加属性,可通过在表格视图中增加 table 插槽来实现,示例代码如下:
<template slot="table" sortable="true" ordering="field1 desc"/>上述代码中,ordering 用于指定视图层面的默认排序方式,而 sortable 则用于设定该视图是否支持手动排序 。
更多有关视图插槽的机制,可在 “视图架构” 部分查阅。简而言之,此处的视图仅规定了页面所包含的元素,却未涉及页面布局的设定。页面最终呈现的效果,是布局与视图融合后的结果。而插槽,正是用于解决视图与布局如何合并问题的一种协议 。
练习(Exercise)
添加手动排序。
自定义
expenses.ProjectType表格视图,并支持手动排序。
大家还跟得上节奏吗?这一章节的内容,对于后端研发的同学而言,可能颇具挑战,甚至会感到有些沮丧。不过,关于专门面向后端同学的视图知识讲解,就到此告一段落啦。
想要详尽阐述所有可用于精细调整视图外观的功能,既不现实也没必要。所以,我们将聚焦于最常见的部分功能进行介绍,主要目的是让大家对 Oinone 的视图机制形成初步的认知。后续若涉及视图相关的细节操作,我们可以借助 Oinone 提供的界面设计器来进行可视化配置。这部分内容在用户手册 - 界面设计器中有详细说明,倘若大家对视图相关内容兴趣浓厚,想要深入探究,也可前往 “视图记录” 和 “视图架构” 部分查阅更多资料。