Chapter 14:Customized Features
In the previous chapter, we gained a deeper understanding of Oinone modular development. In actual business operations, besides product research and development, we frequently need to address personalized needs of different customers. These needs are diverse, involving multiple dimensions such as menu layout, operational logic, interaction methods, and table field settings of the application. According to traditional development ideas, meeting such needs usually requires modifying the product source code. Today, we will explore how Oinone can precisely meet customer personalized demands without altering the product source code.
I. The upstream Attribute of Modules
Reference: Documentation related to this topic can be found in "Module API".
Objectives: By the end of this section:
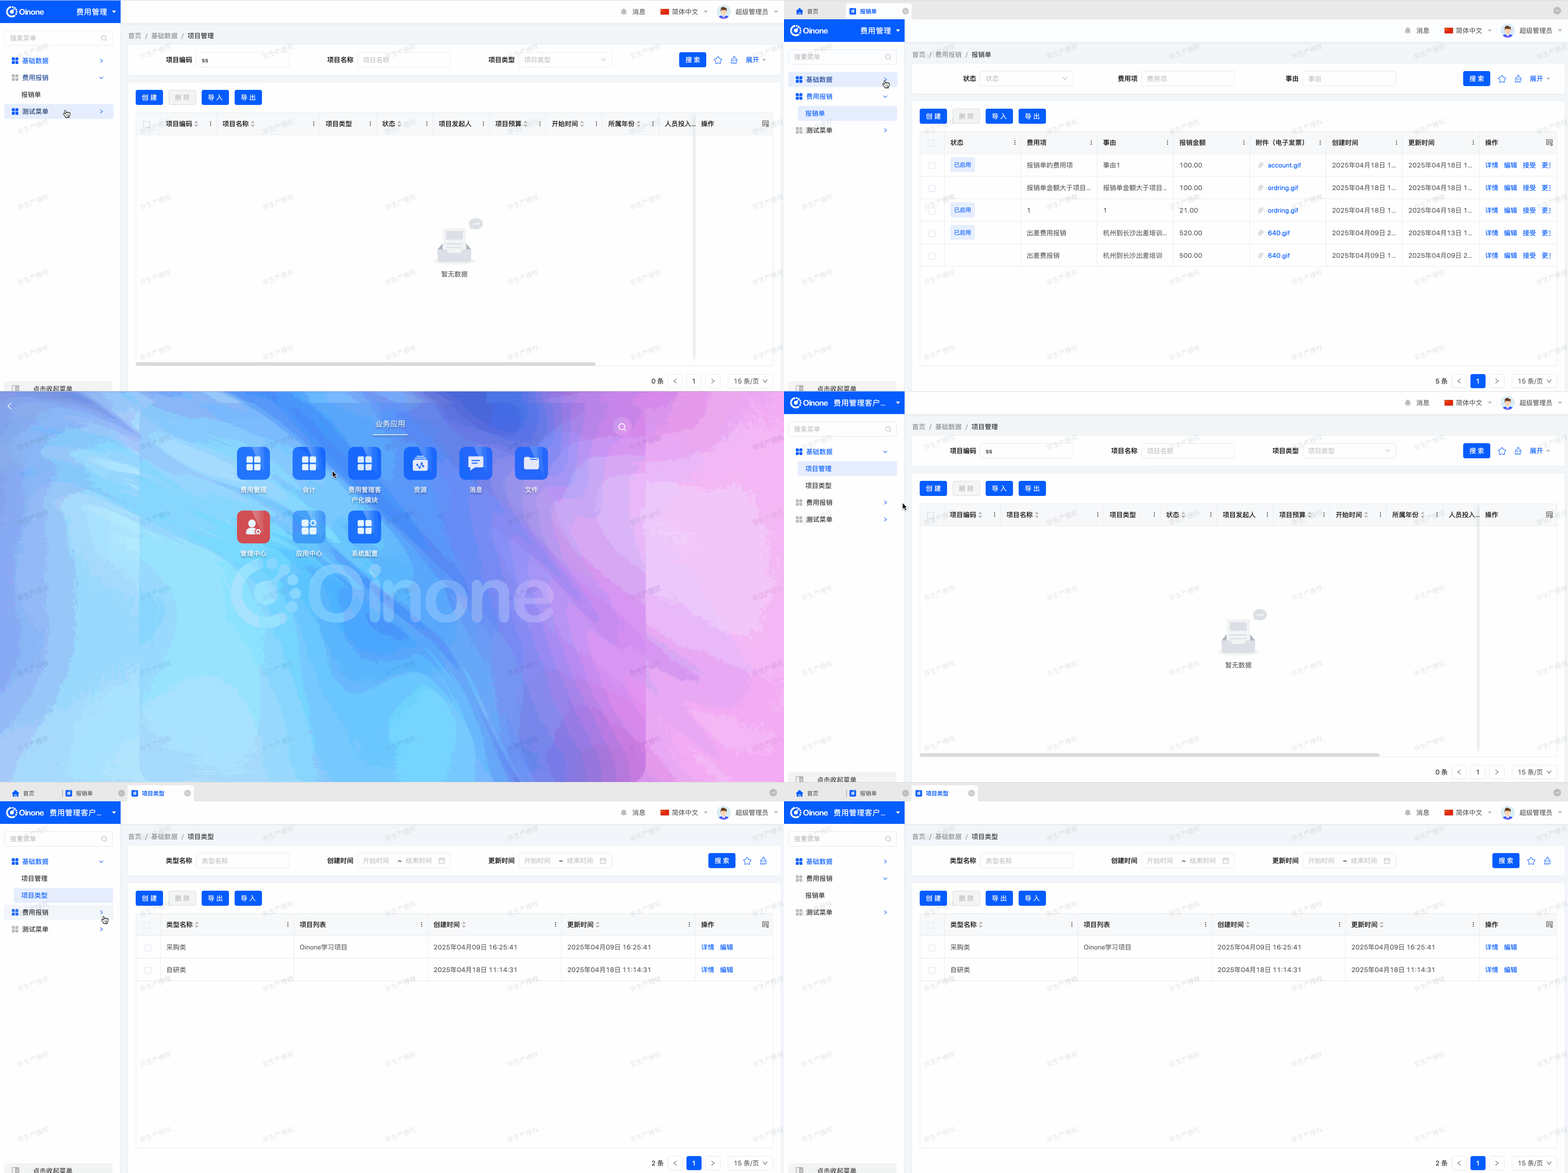
- Add a new "ce_expenses (Custom Expense Management Module)", which is a customized version of "expenses" to meet personalized needs in specific scenarios.

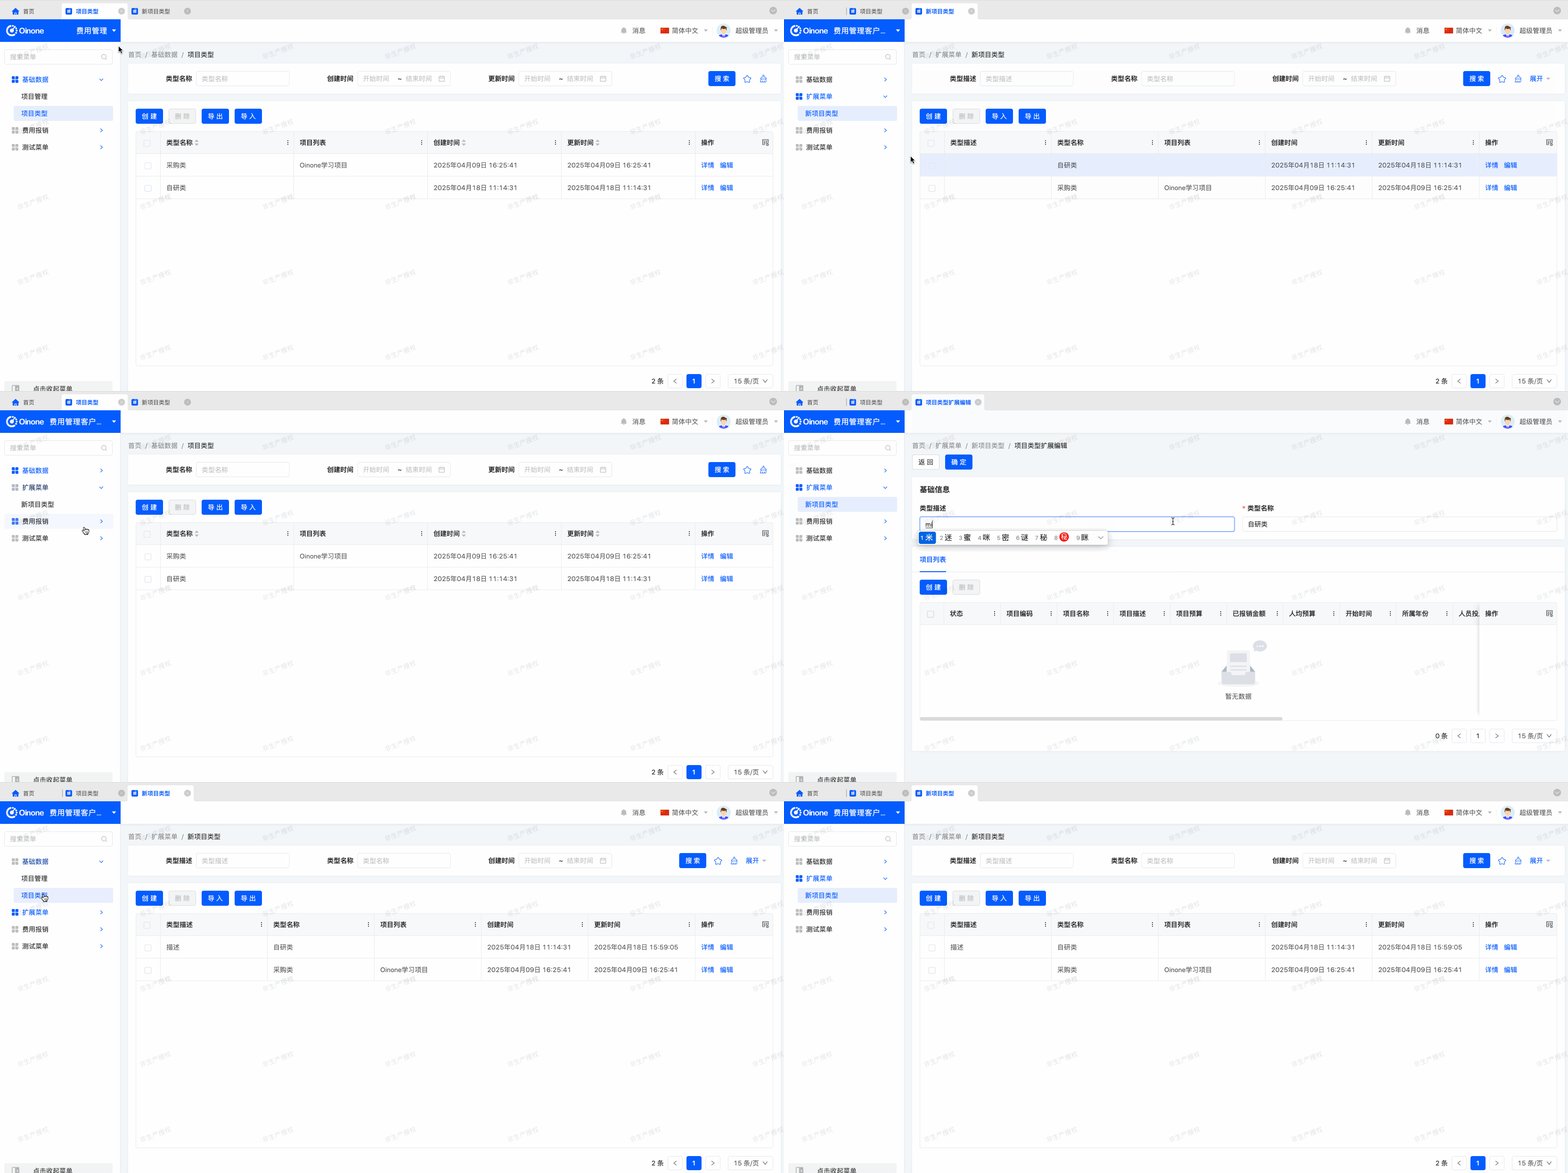
- Extend a description field for ProjectType in the customized expense management module.

In the Oinone system, we can use no-code designers or add modules to meet customer personalization needs without touching the product source code. This section focuses on a more advanced model: creating a "customized module" that inherits from the "standard product module". We integrate customer personalized needs into the "customized module" rather than directly modifying the "standard product module". This allows clear comparison between the "customized module" and the "standard product module" in the same environment, while demonstrating the customized effects for different customers. For example:
@Component
@Module(
        name = CeExpensesModule.MODULE_NAME,
        upstreams = ExpensesModule.MODULE_MODULE,
        displayName = "费用管理客户化模块",
        version = "1.0.0",
        priority = 1,
        dependencies = {ModuleConstants.MODULE_BASE, ExpensesModule.MODULE_MODULE}
)
@Module.module(CeExpensesModule.MODULE_MODULE)
@Module.Advanced(selfBuilt = true, application = true)
public class CeExpensesModule implements PamirsModule {

    public static final String MODULE_MODULE = "ce_expenses";

    public static final String MODULE_NAME = "ceExpenses";

    @Override
    public String[] packagePrefix() {
        return new String[]{
                "pro.shushi.oinone.trutorials.ce.expenses"
        };
    }
}
This module can specify the upstream standard product application through upstreams to ensure smooth data and functional connection with the standard product application.
Exercise
- Create a customized module: Create the
ce_expensesmodule, set theupstreamsattribute toexpenses, and add a dependency on theexpensesmodule.- For the
ce_expensesmodule, add ace.expenses.CeProjectTypemodel that inherits from the parent modelexpenses.ProjectType, and add a field: Type Description (description).- As shown in the objectives of this section, add a menu entry for the
ce.expenses.CeProjectTypemodel.
Warning
The package paths of each module must not contain the same package path; otherwise, metadata loading will be problematic. Therefore, for linked modules like ce_expenses, its package path is recommended to start with "ce", such as: pro.shushi.oinone.trutorials.ce.expenses.
Note: Upstream Feature
The Enterprise Edition includes the upstream feature, while the Community Edition does not have this function.
II. Function Features
Developing based on Oinone endows the developed code with excellent extensibility to address customer personalization. In addition to overriding functions, Oinone provides two ways to extend logic:
- Extpoints: Used to extend function logic. Extpoints are similar to the SPI mechanism (Service Provider Interface), a service discovery mechanism that enables the extension of function logic.
- Hooks: Non-invasively extend pre and post-execution logic for platform functions that meet conditions, based on priority.
Warning
By default, extpoints and hooks only take effect for requests initiated from pages, not for functions directly called in Java code.
(Ⅰ) Extpoints
Reference: Documentation related to this topic can be found in "Extpoints".
Objectives: By the end of this section:
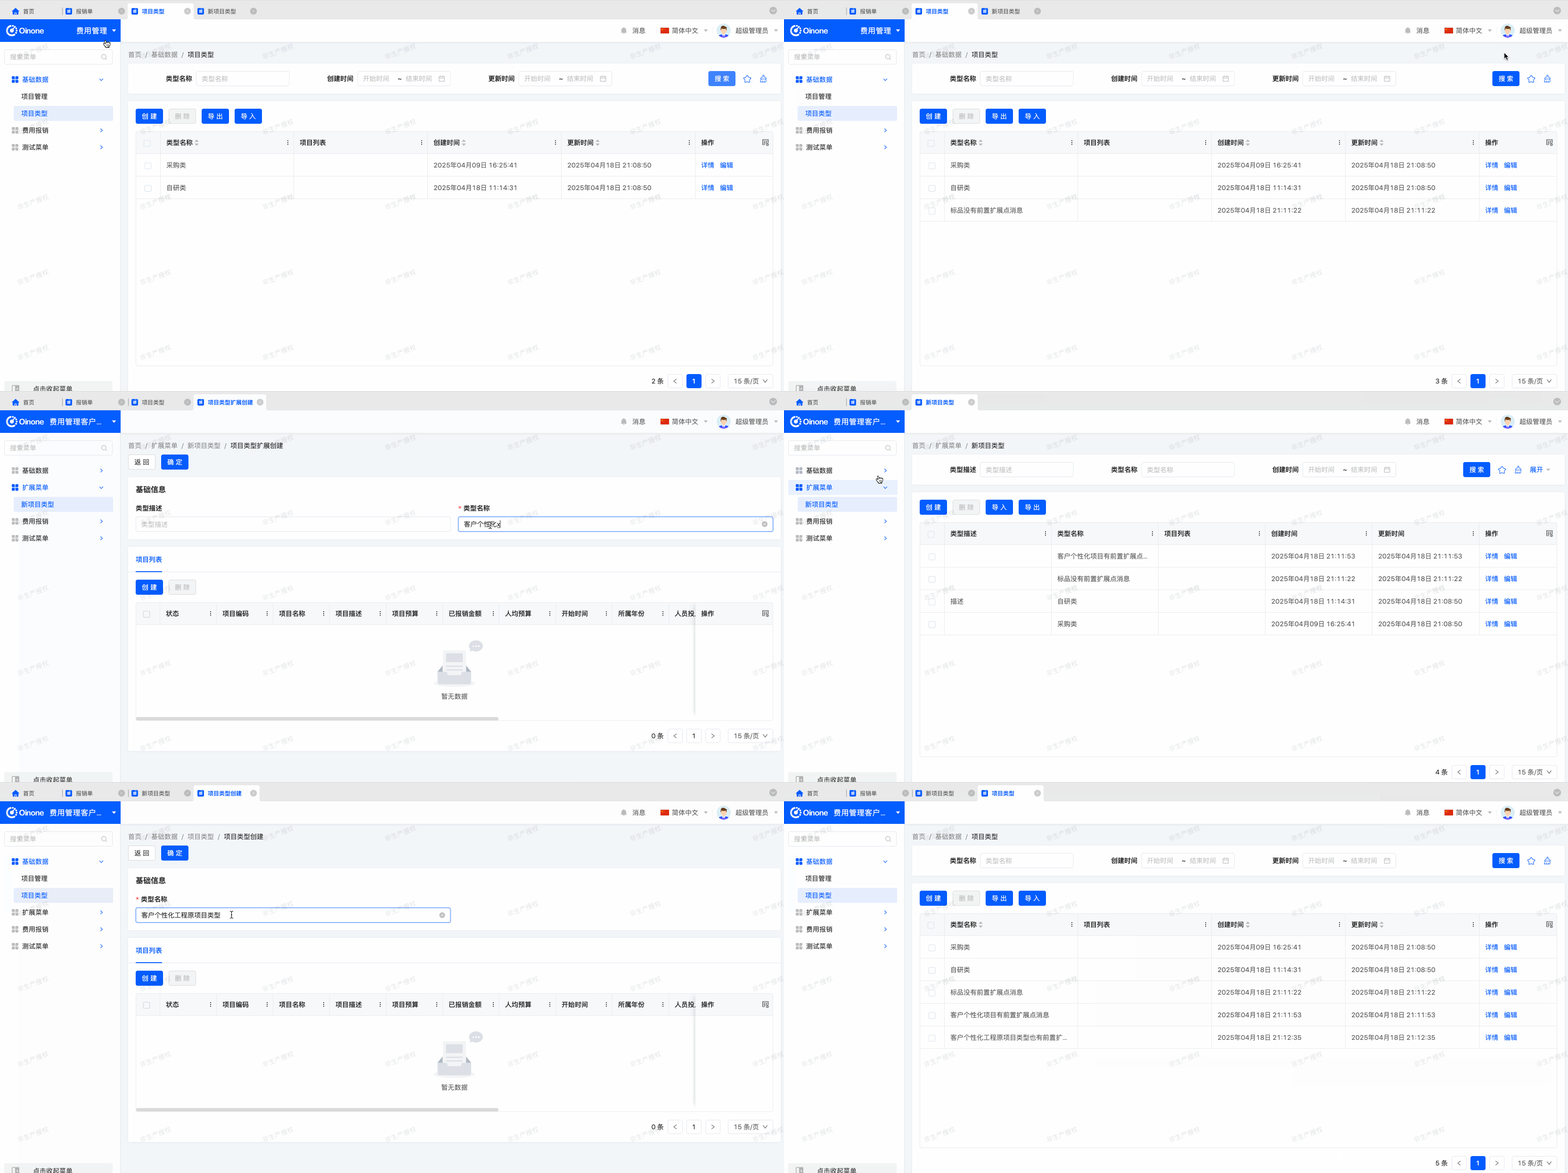
- No message prompt will appear when adding a new project type in the expense management module.
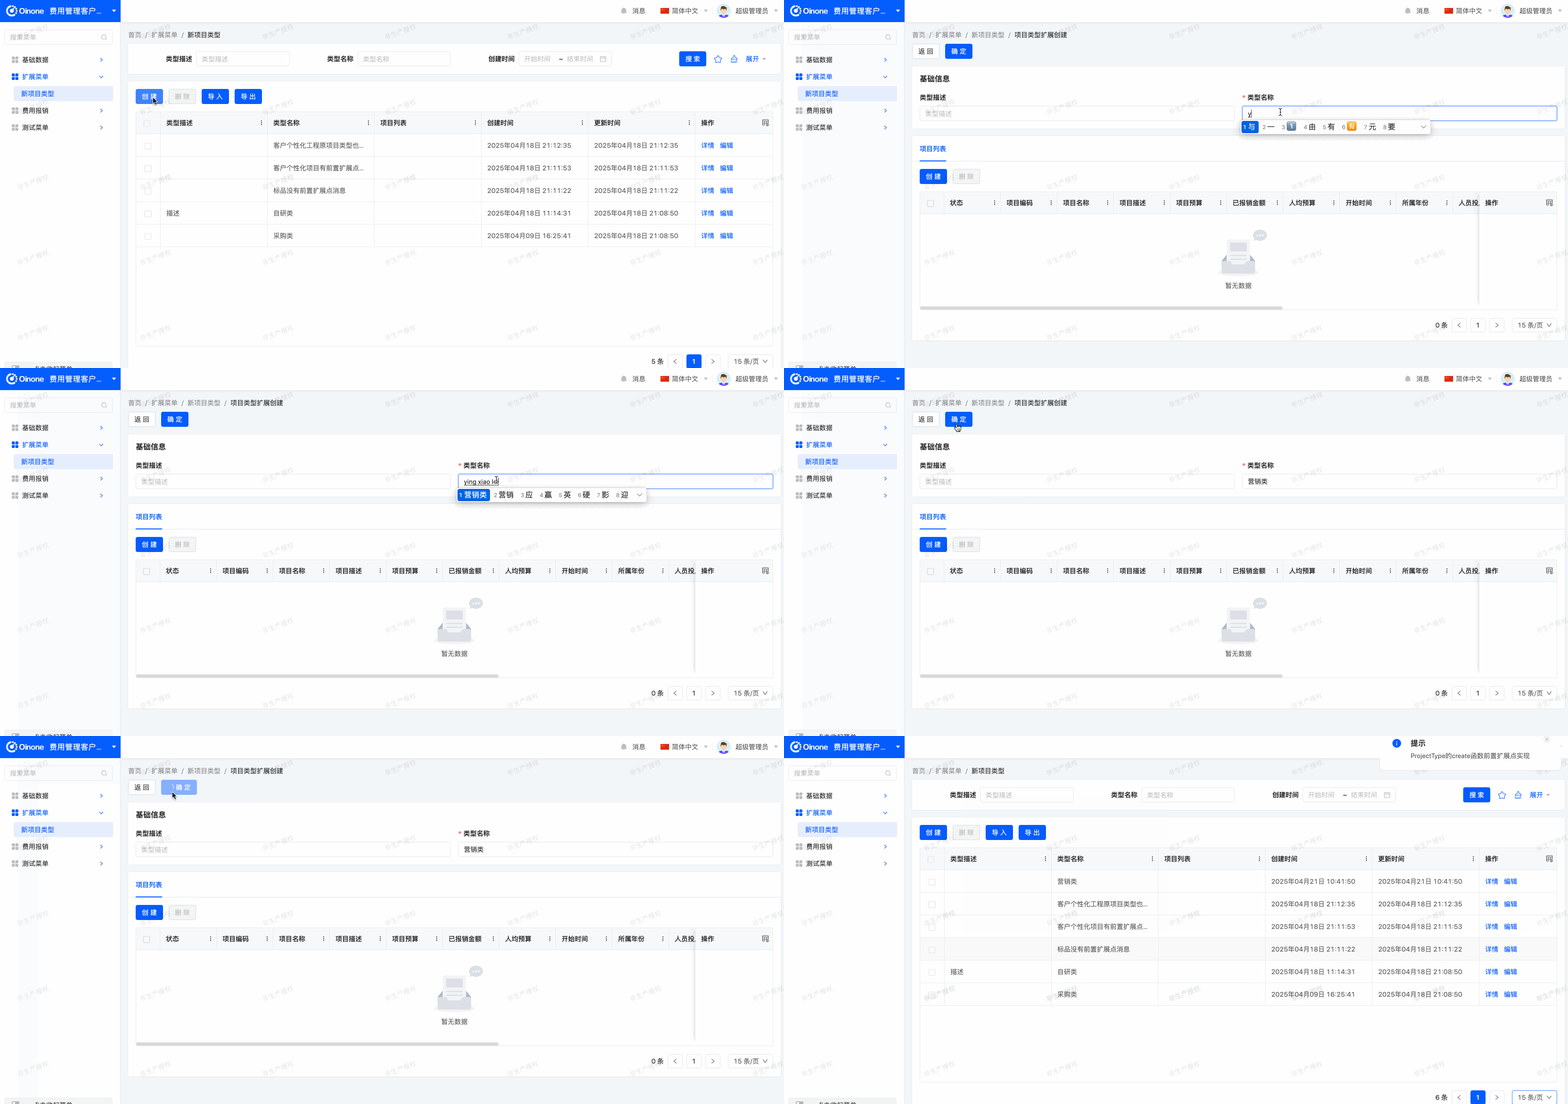
- Message prompts will appear when adding a new project type in both the customized expense management module and the new project type.

All functions in Oinone provide default pre-extpoints, override extpoints, and post-extpoints. The technical naming rule is to add "Before", "Override", and "After" suffixes to the function code fun of the extended function. For example:
package pro.shushi.oinone.trutorials.ce.expenses.api.extpoint;

import pro.shushi.oinone.trutorials.expenses.api.model.TestModel;
import pro.shushi.pamirs.meta.annotation.Ext;
import pro.shushi.pamirs.meta.annotation.ExtPoint;

@Ext(TestModel.class)
public interface TestModelExtpoint {
    @ExtPoint(displayName = "TestModel的create函数前置扩展点")
    public TestModel createBefore(TestModel data);
}
package pro.shushi.oinone.trutorials.ce.expenses.core.extpoint;
import pro.shushi.oinone.trutorials.ce.expenses.api.extpoint.TestModelExtpoint;
import pro.shushi.oinone.trutorials.expenses.api.model.TestModel;
import pro.shushi.pamirs.meta.annotation.Ext;
import pro.shushi.pamirs.meta.annotation.ExtPoint;
import pro.shushi.pamirs.meta.api.session.PamirsSession;
@Ext(TestModel.class)
public class TestModelExtpointImpl implements TestModelExtpoint {
@Override
@ExtPoint.Implement(displayName = "TestModel的create函数前置扩展点实现",expression = "context.requestFromModule==\"ce_expenses\"")
public TestModel createBefore(TestModel data) {
PamirsSession.getMessageHub().info("TestModel的create函数前置扩展点实现");
return data;
}
}Use @Ext(TestModel.class) to mark the class where the extended function is located, clarifying the namespace. Define extpoints with @ExtPoint and their implementations with @ExtPoint.Implement. Set the activation condition and priority of the extpoint through expression and priority. In the expression, context and function parameters (such as data in the example) can be used as variables, where context.requestFromModule represents the module that initiated the request.
Tip
Extpoints can be configured with activation conditions through the expression attribute, which takes effect automatically when left empty. An extpoint can have multiple implementations, and Oinone will select only one to execute based on conditions and priority.
Exercise
As shown in the objectives of this section, add a project type record in the
ce_expensesmodule and prompt relevant information.
Warning
Do not name function parameters context, as this will conflict with Oinone's built-in context, causing expression execution exceptions.
Tip
Submodels not only inherit fields and functions from the parent model but also synchronously inherit the extpoints of the inherited functions.
(Ⅱ) Hooks
Reference: Documentation related to this topic can be found in "Hook".
Objectives: By the end of this section
When adding a new project type in the customized module, the Java backend will print the following log:

2025-04-21 10:41:49.754 INFO 3553 --- [0.0-8191-exec-7] .o.t.c.e.c.h.ProjectTypeCreateBeforeHook : 记录 CeProjectType 创建操作,对应名称为: 营销类
Hooks are divided into two types: pre-hooks and post-hooks. Pre-hooks process the input parameters of the intercepted function, while post-hooks process the output parameters of the intercepted function. For example:
package pro.shushi.oinone.trutorials.ce.expenses.core.hook;

import org.springframework.stereotype.Component;
import pro.shushi.oinone.trutorials.expenses.api.model.TestModel;
import pro.shushi.pamirs.meta.annotation.Hook;
import pro.shushi.pamirs.meta.api.core.faas.HookBefore;
import pro.shushi.pamirs.meta.api.dto.fun.Function;
import pro.shushi.pamirs.meta.api.session.PamirsSession;

@Component
public class TestModelCreateBeforeHook implements HookBefore {

    @Override
    @Hook(model = {TestModel.MODEL_MODEL},fun = {"create"},priority = 1)
    public Object run(Function function, Object... args) {
        PamirsSession.getMessageHub().info("TestModel的create函数BeforeHook");
        return args;
    }

}
Oinone marks a method as a hook by adding the @Hook annotation. Pre-hooks need to implement the HookBefore interface, while post-hooks need to implement the HookAfter interface. The example shows a pre-hook whose input parameters include the current intercepted function definition and the input parameters of the intercepted function. The execution order of hooks can be flexibly adjusted through the priority attribute—the smaller the value, the higher the execution priority of the corresponding hook.
Tip
Hooks use an AOP-like mechanism to intercept any function and support the execution of multiple hooks in priority order. Through non-mandatory fields module, model, fun, function type, and active, accurately filter the effective hooks applicable to the current intercepted method.
Warning
Since hooks intercept all functions, an excessive number of hooks will inevitably lead to performance degradation.
Exercise
As shown in the objectives of this section, add a project type record in the
ce_expensesmodule, and the system will print the corresponding log.
This concludes the basic tutorial on the back-end framework. We believe you have mastered the key points. If you encounter problems during practical operations, feel free to communicate at any time. Advanced content will follow, and we look forward to progressing together with you!