After connecting to integrated resources, it is necessary to achieve data interconnection of integrated resources through process orchestration, and handle the data workflow in a visual way to improve the efficiency of integration operations.
The data workflow mainly covers two core parts: process management and process design. Its overall framework is highly consistent with the process designer. For detailed functions of the process designer, please refer to the "Process Designer" documentation for more information. Here, we focus on the process nodes in the data workflow, which have some differences from the nodes in the process designer. Therefore, this article will only introduce these different nodes in detail, and other nodes can be referred to the "Process Designer - Node Actions" documentation.
I. Trigger Nodes
There are three ways to trigger a process: model trigger, scheduled trigger, and message trigger, to meet the needs of different scenarios.
Example
Note
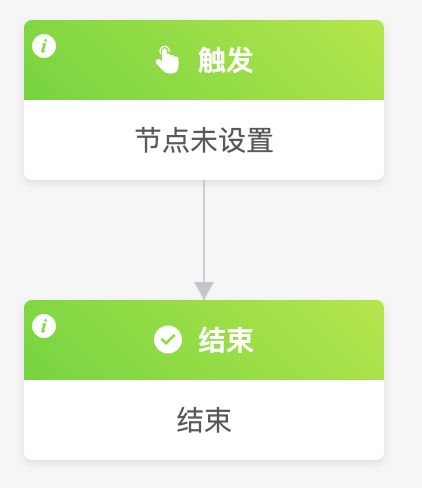
- If the process trigger node is not set, you cannot continue to add other subsequent nodes, and the process cannot be published.
- After the trigger node is configured, there must be at least one node action between the trigger node and the end node, otherwise the process cannot be published either.
Details of the model trigger and scheduled trigger have been described in the "Process Designer" documentation. Only the message trigger is introduced here.
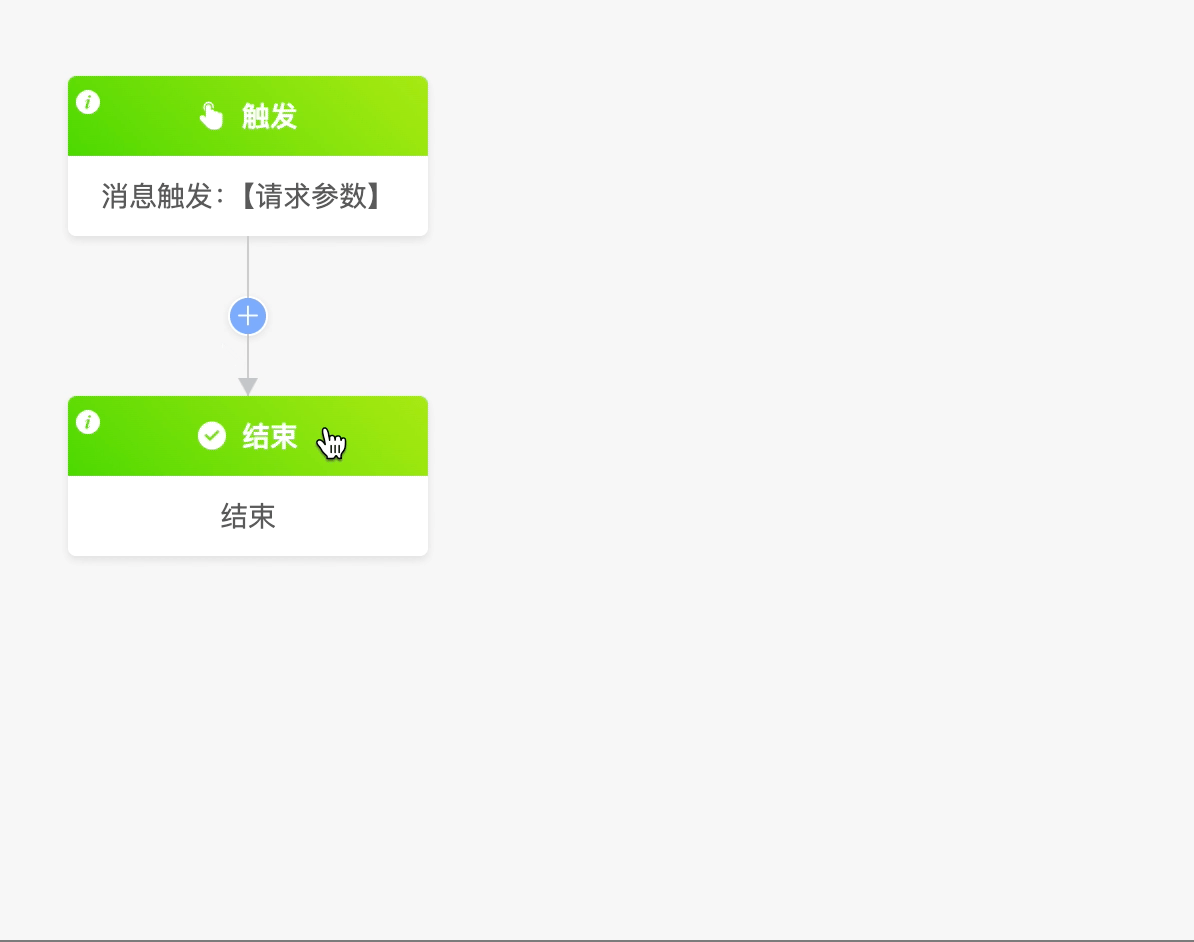
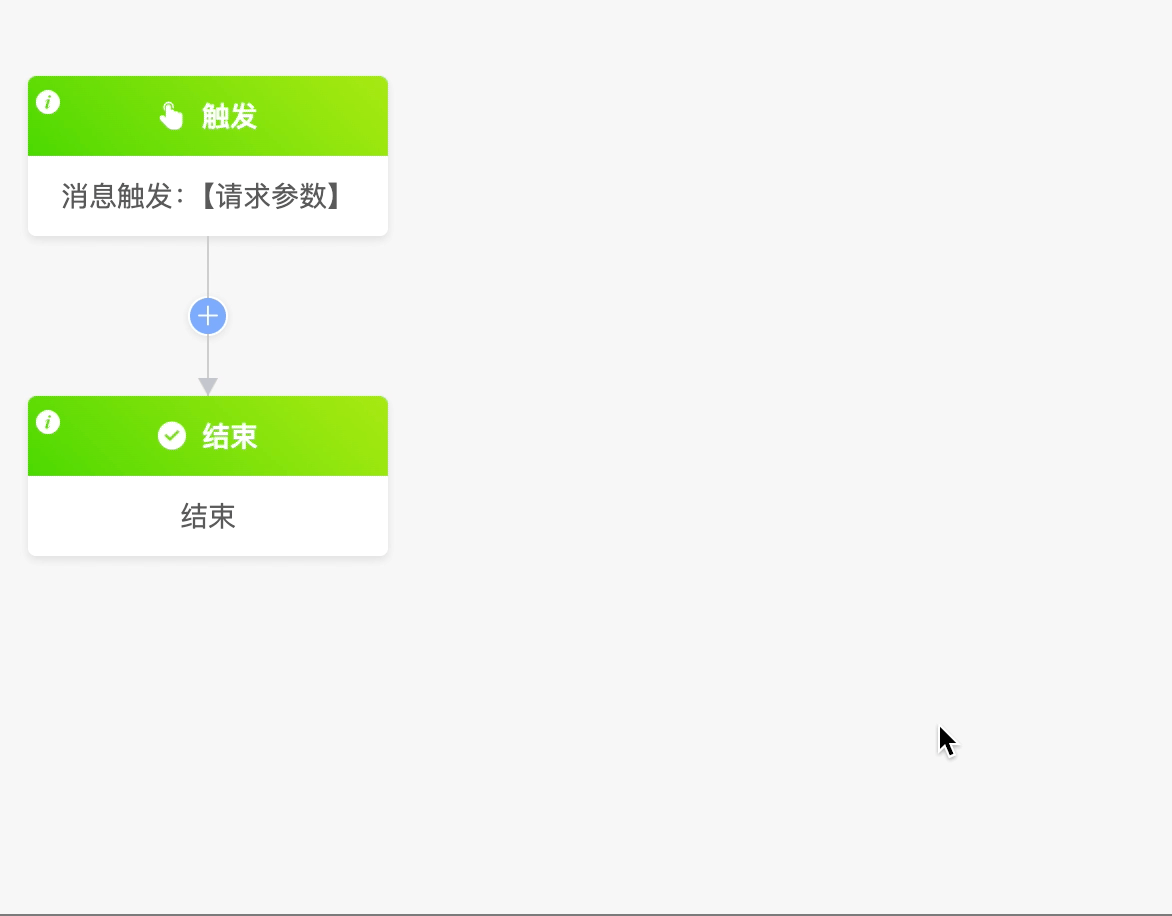
- Message trigger: Suitable for scenarios where a specific message event is used to execute a process. For example, receiving a system notification triggers the process for subsequent processing.
- Message identifier: The unique identifier for identifying a message task, and the identifier can be reused. When sending a message, it must match the defined message identifier. For example, the action operation side clicks to send a message.
- Trigger parameter settings: Support Long, Double, String, Boolean, Integer, Date, Void, and Object types.
Note
When triggering, it is based on the message identifier. If there are two identical message identifiers, both data workflows will be triggered.
Example
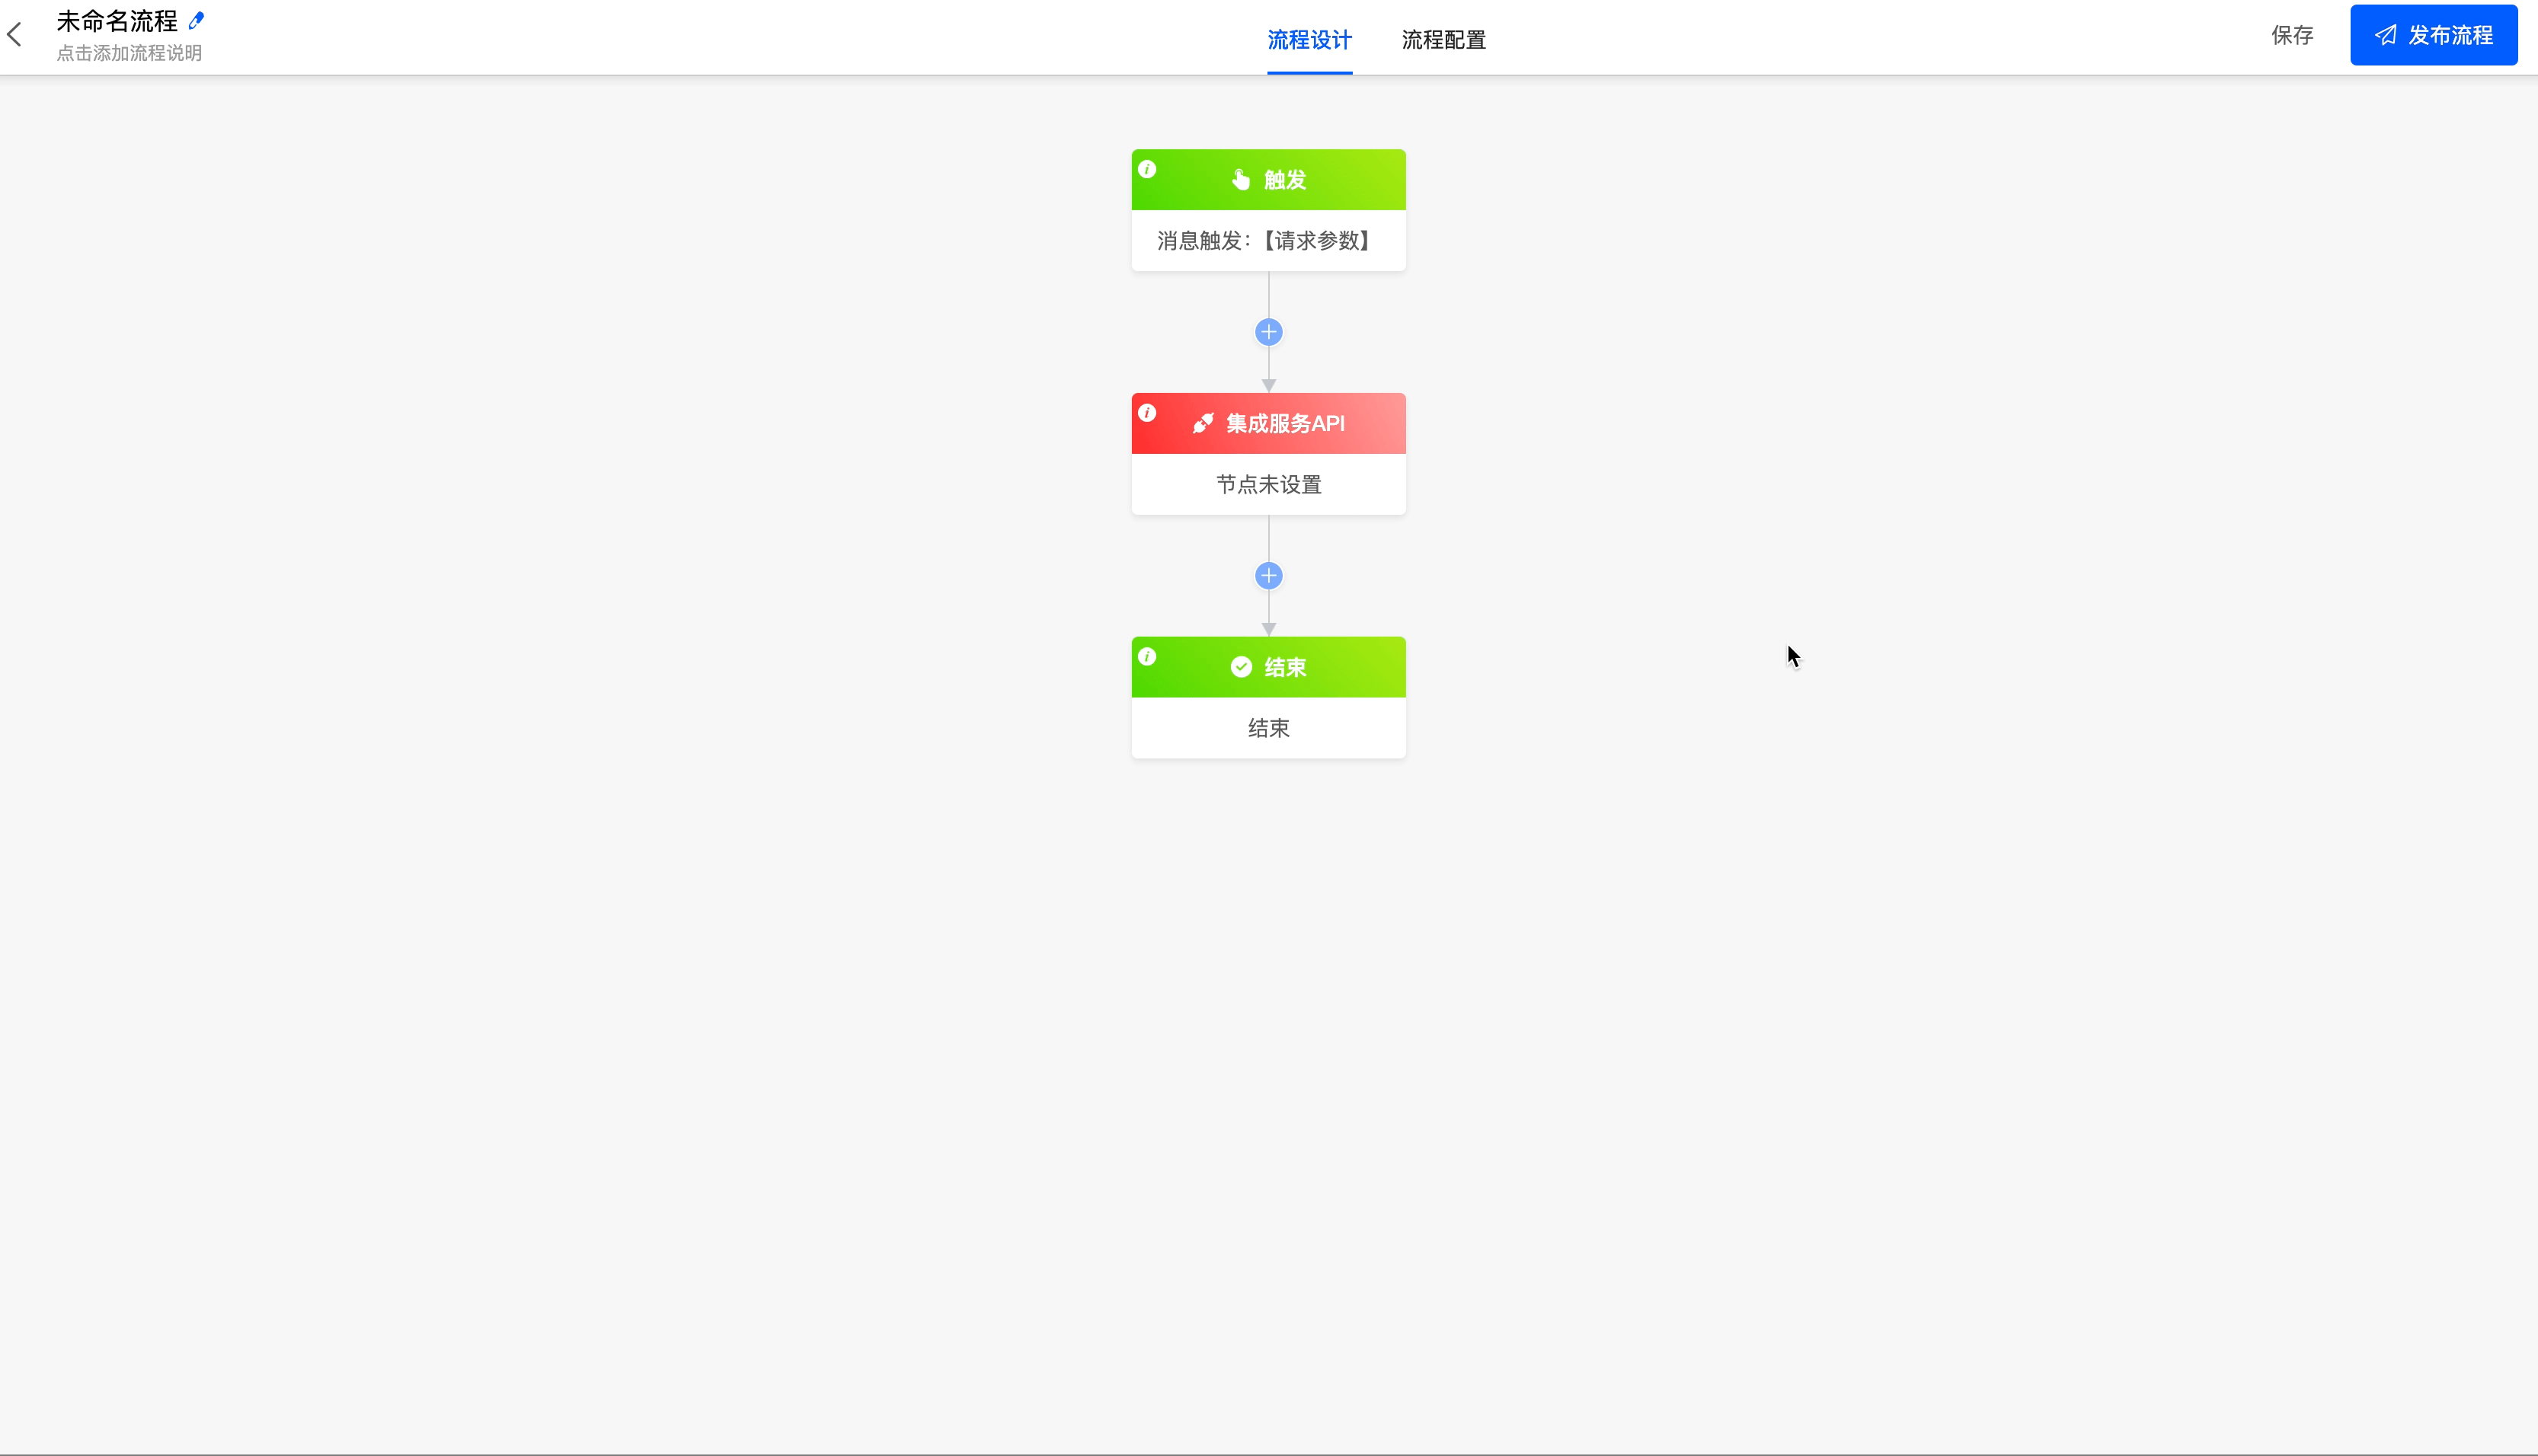
II. Integration Services
(I) API
When you need to connect to integrated resources, you can use the API node.
Example
- Select an application: That is, connect to an application resource.
- Select an API: Select an API included in the application.
- Set parameters: When the API contains request parameters, you can set custom functions and assignment expressions for them.
- Response result parameters: When the API contains response parameters, you can set custom functions for them.
- Is it an incremental interface: That is, whether incremental control needs to be enabled. If set to no, integration developers need to control it independently.
- Incremental cursor: When it is an incremental interface, you can select the cursor value parameter from the response result to assist the customer in updating the cursor value after the data workflow is completed. Take the maximum value of the corresponding parameter in the current data workflow.
- Set the context data source: When the data has different names in different locations but actually refers to the same data, you can configure the context data source to achieve data mapping.
Example
Get the access_token of the DingTalk open API (you need to add the corresponding API in the connector). The appkey and appsecret parameters are important credentials used by DingTalk to verify the identity of the requester. Fill them in according to the actual situation, and they are not shown here. After correctly filling in the parameters, you can get the access_token from the DingTalk server.
III. Data Processing
(I) Add Data
The add data node can add data to any model through an expression.
(II) Update Data
The update data node can update data in any model through an expression.
(III) Get Data
The get data node can obtain data from models other than the trigger model for the process.
(IV) Delete Data
The delete data node can delete the model data on the process node from the database.
(V) Update Process Parameters
You can modify the "Process Parameters" in the "Process Configuration".
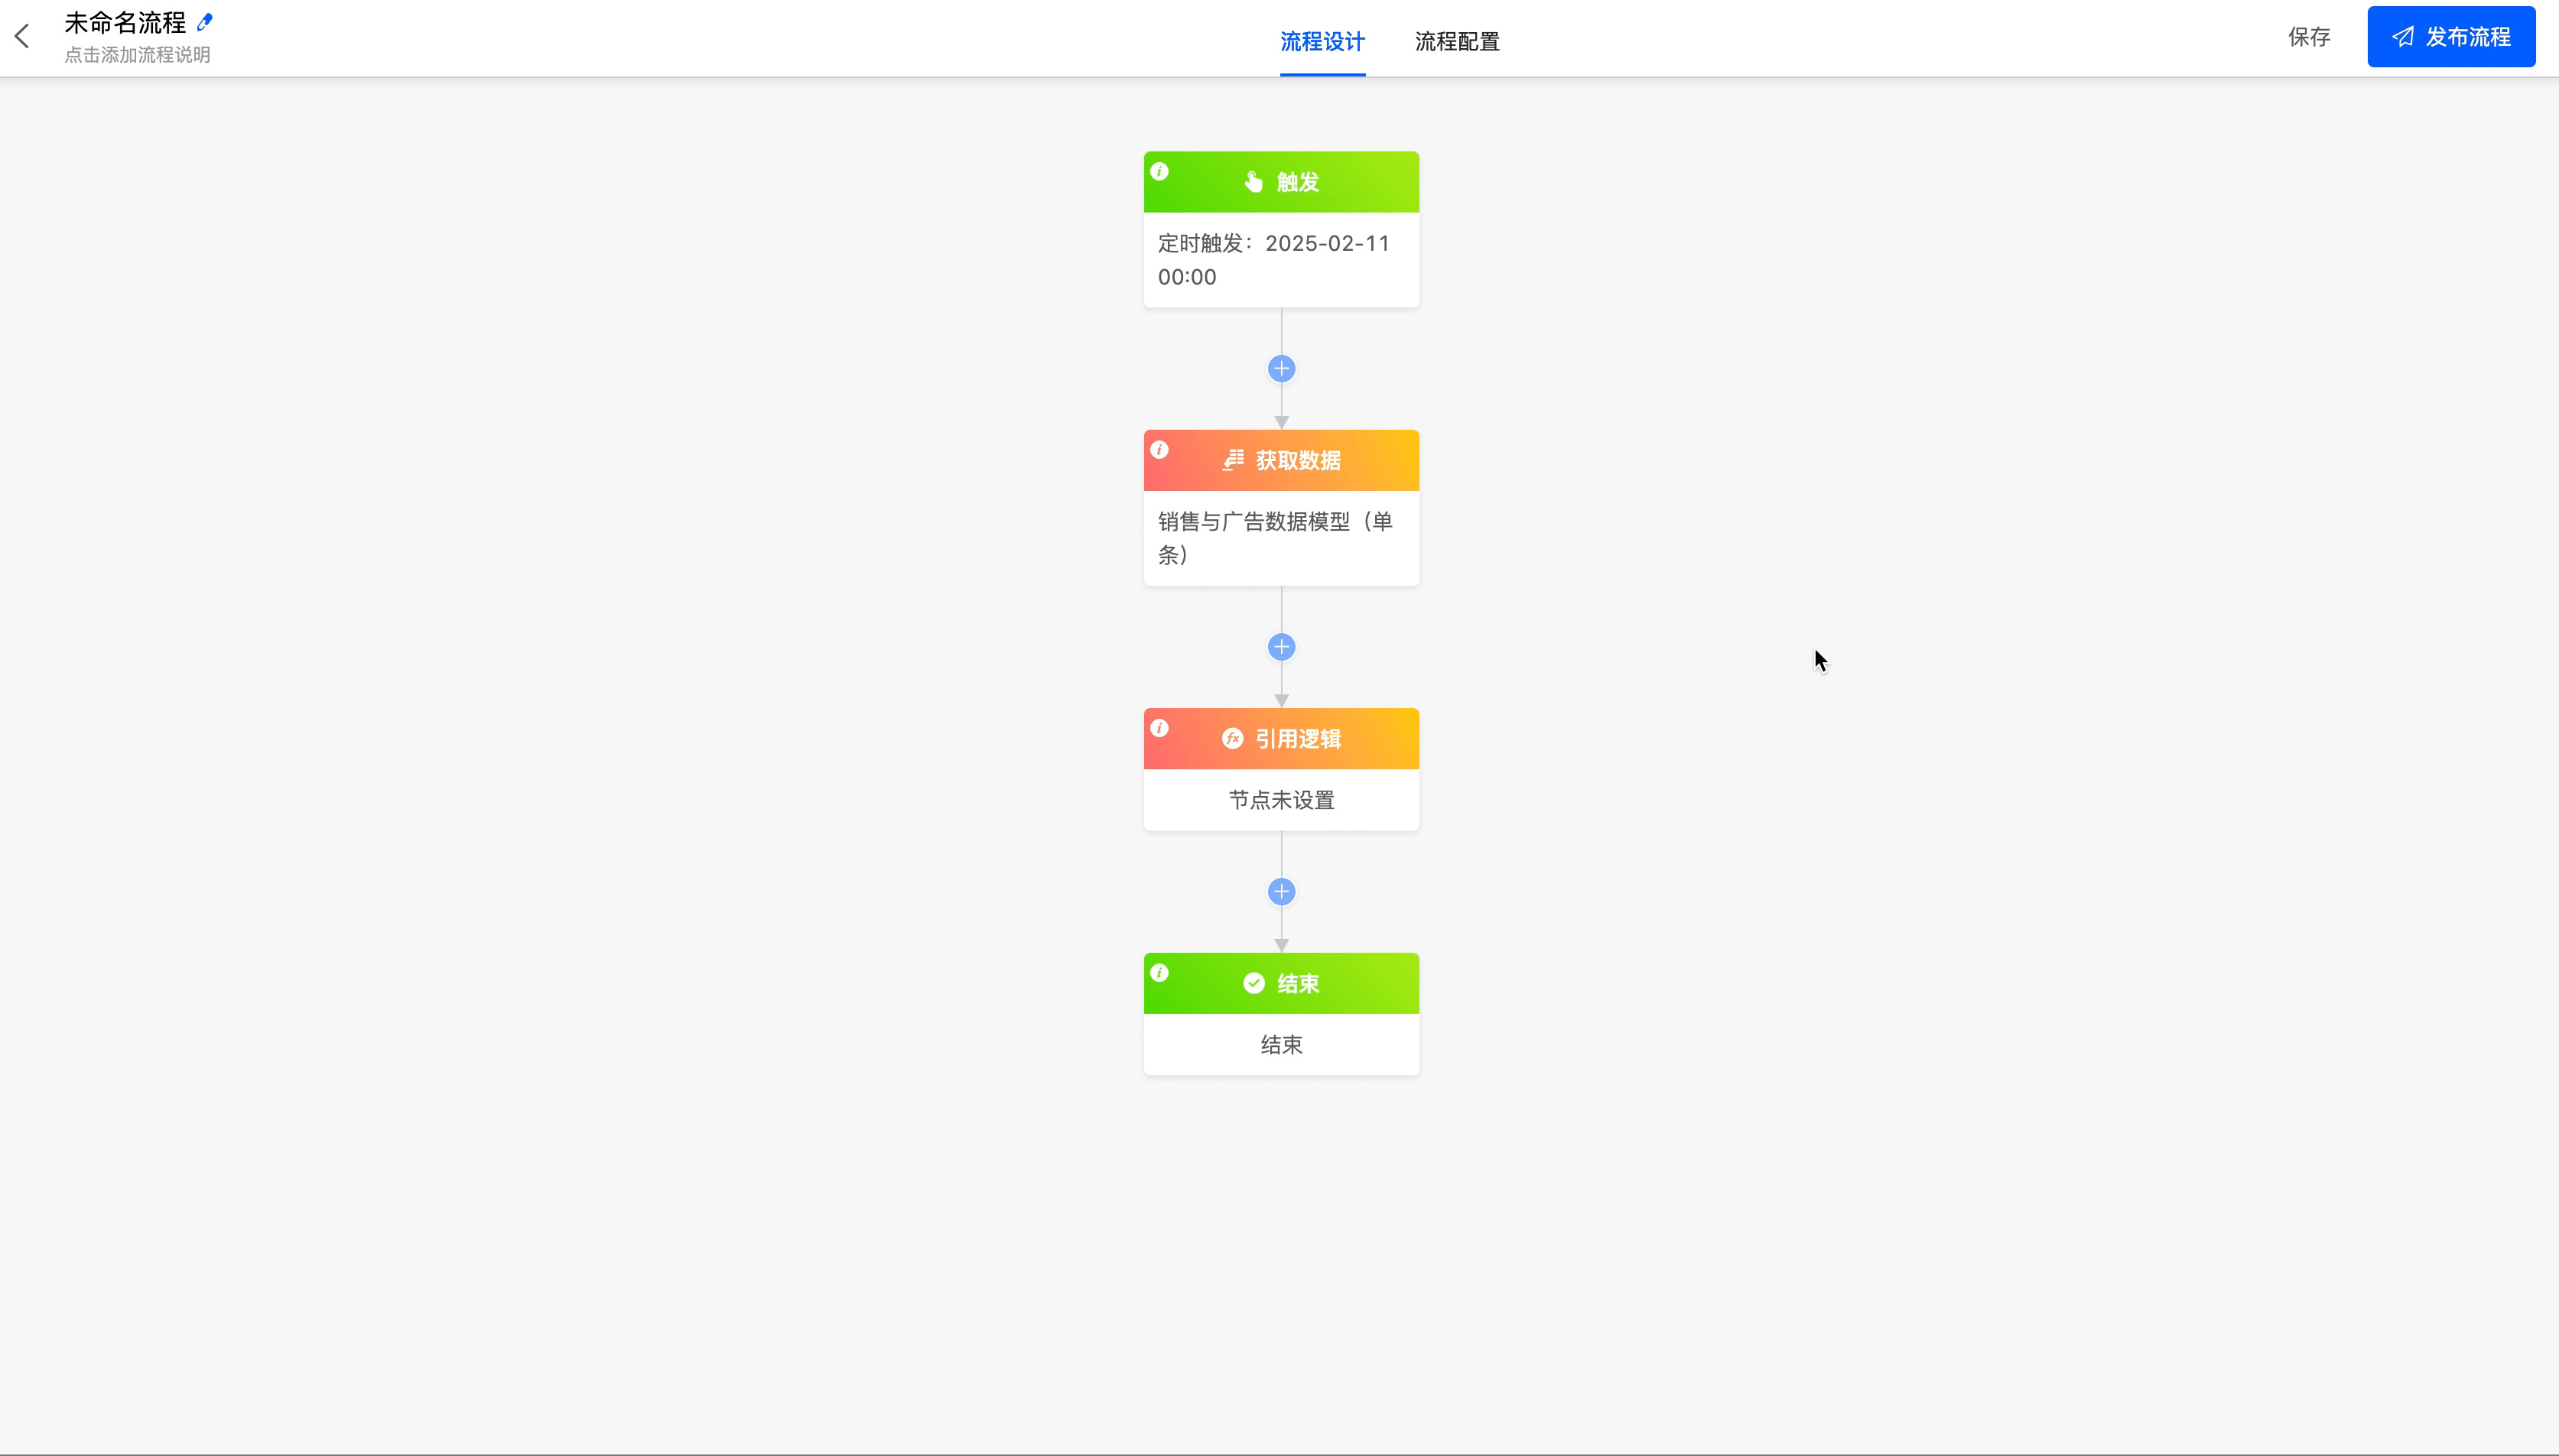
(VI) Reference Logic
When you need to use the built - in logic of a model or the logic designed with low - code in the process, you can use the reference logic node.
Example
- Select an application: You can select an application created on the platform.
- Model: Select a model included in the application.
- Select a function: Select the required function from the built - in functions of the model or the functions designed by the low - code platform.
- Set parameters: Set corresponding expressions for the parameters included in the function to meet the actual business needs.
Example
Update the "Profit" field in the "Sales and Advertising Data" model to the data of sales minus advertising investment.
IV. Construction
(I) Delay
The delay node can delay the action of the next node for a period of time before execution.
(II) Conditional Branch
The conditional branch node can make data under different conditions execute different branch processes.
(III) Sub - process
Some highly repetitive process nodes can be created as sub - processes. Referencing the sub - process node in the main process can reduce the repeated configuration of the process.
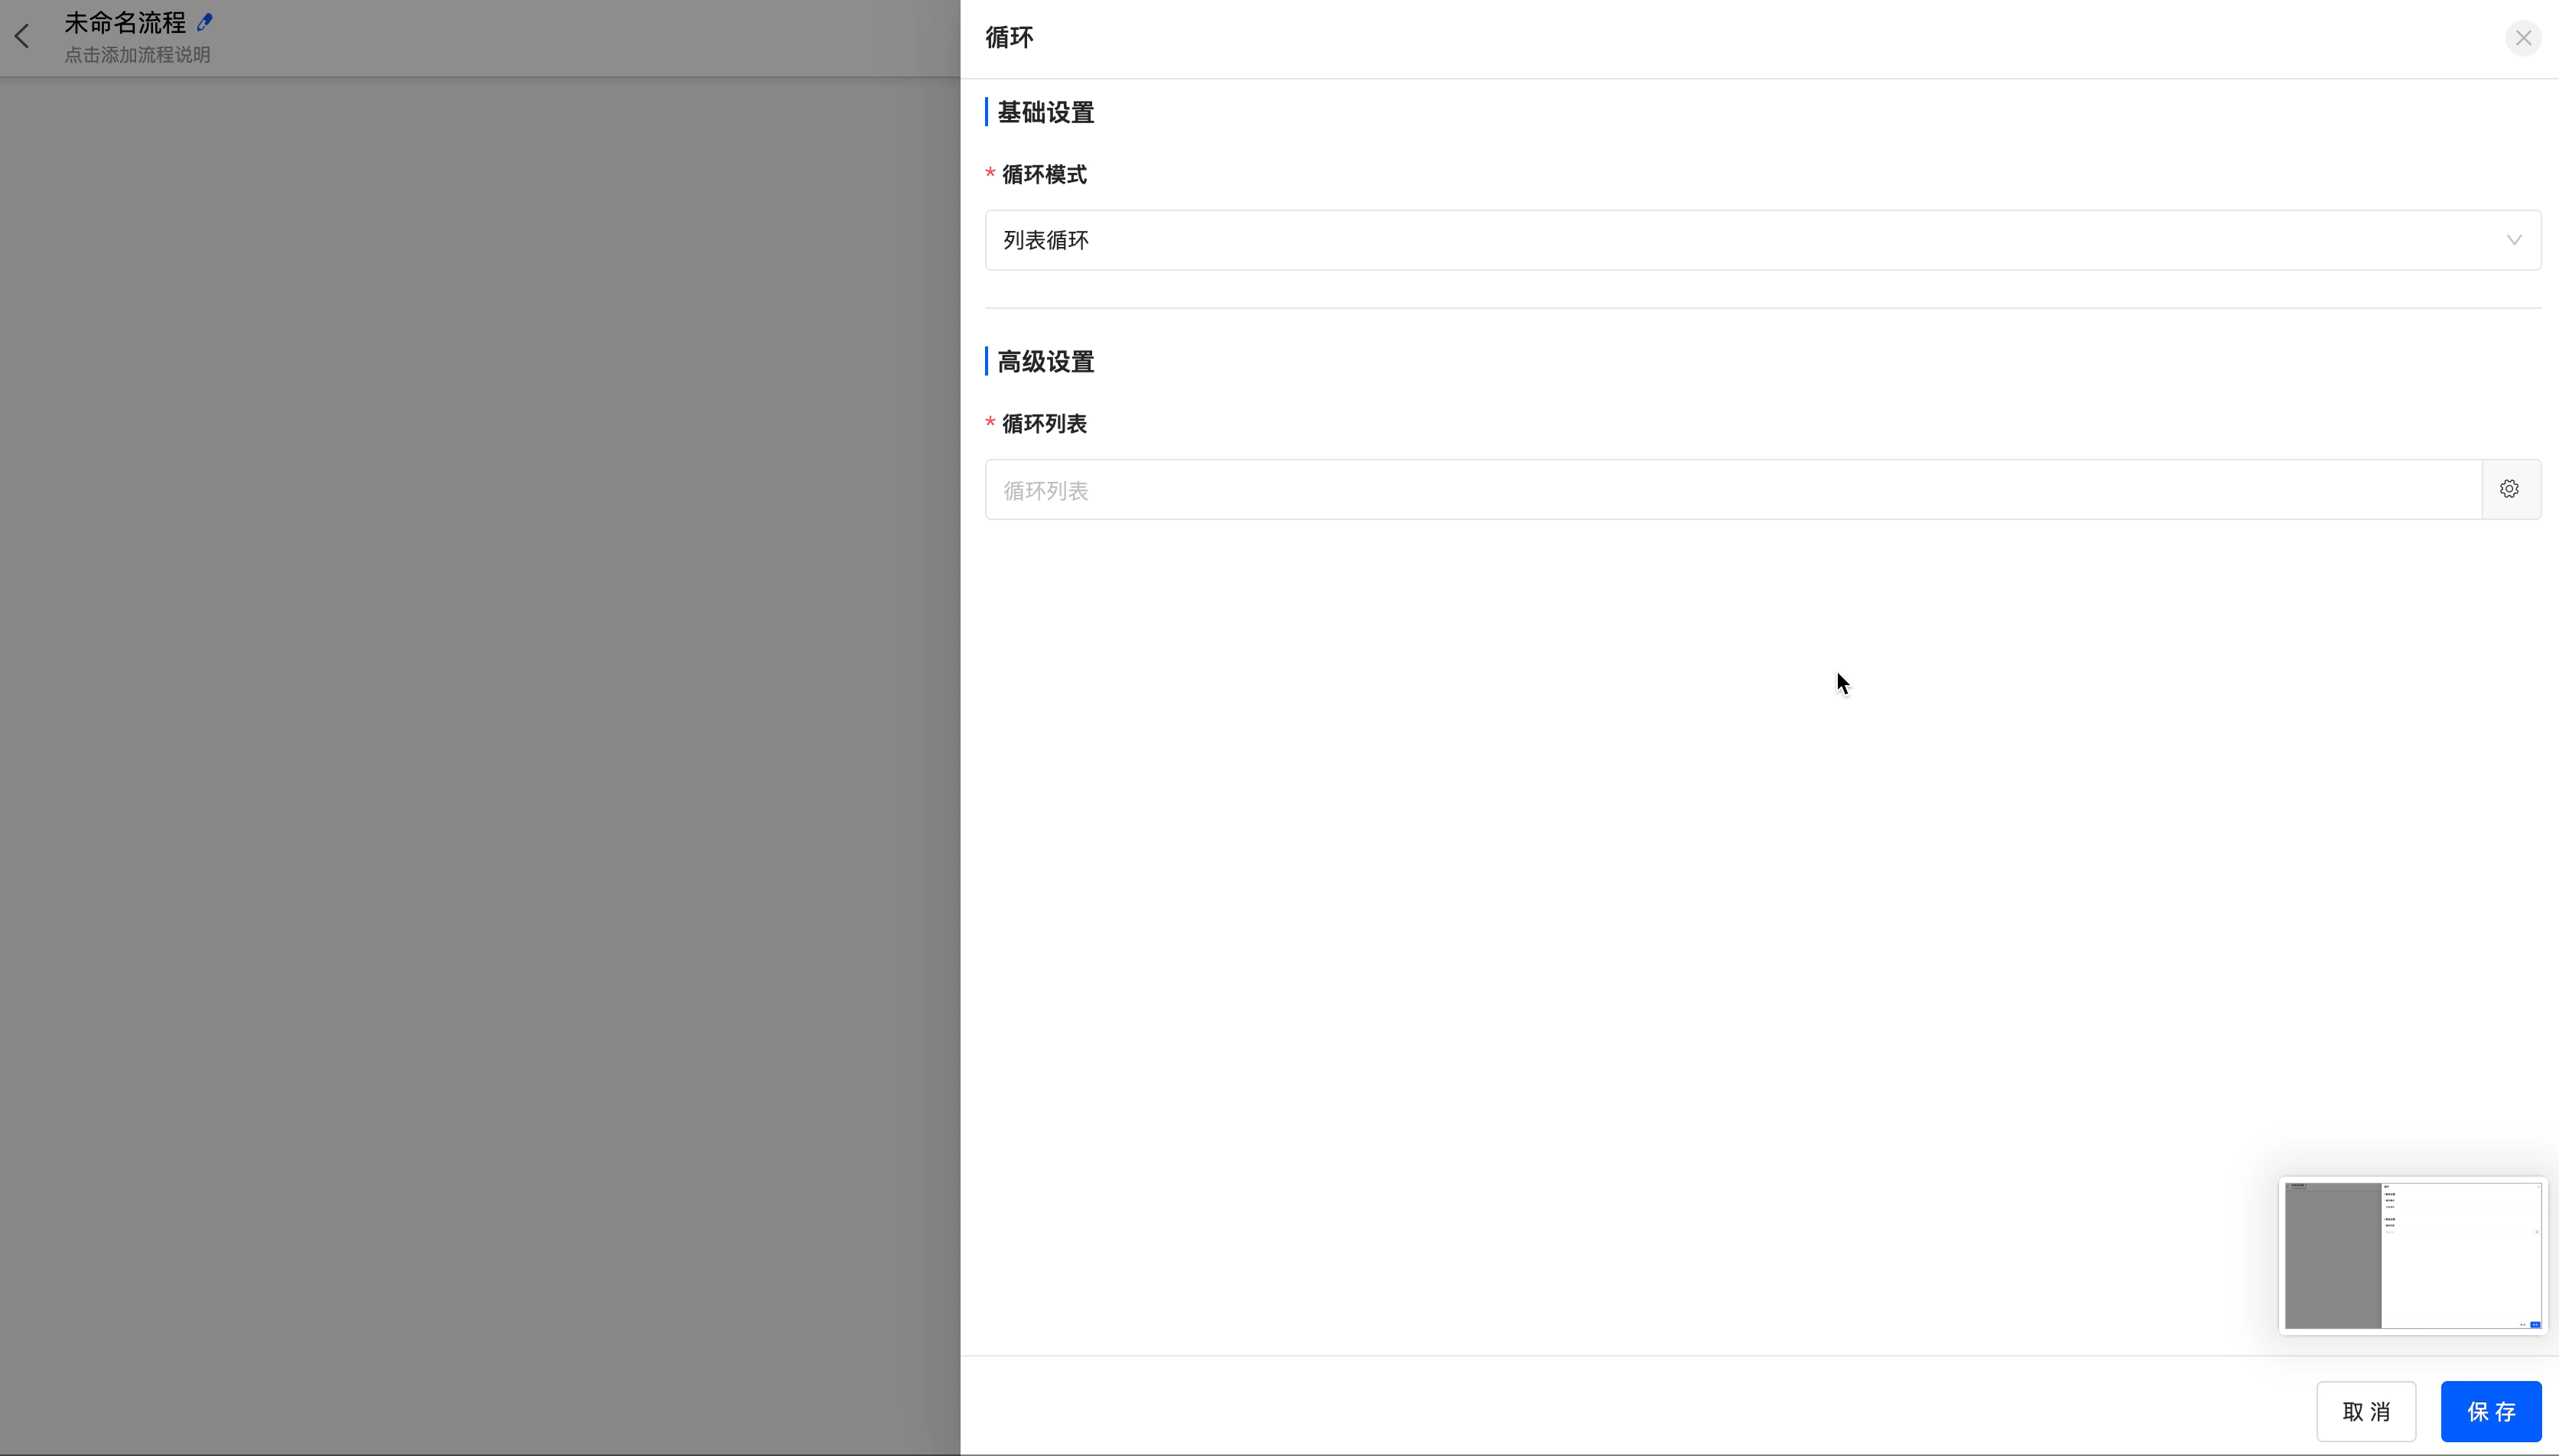
(IV) Loop
When there are some nodes in the data workflow that need to be executed repeatedly, you can use the loop node.
Example
The loop node includes two loop modes: list loop and number of times loop.
- List loop: You can select the data in the corresponding models from which all available data can be obtained before the loop node, and loop based on the data list.
- Number of times loop: You can set the start value, end value, and step size of the loop. You can directly enter numerical values or select from the data in the corresponding models from which all available data can be obtained before the loop node.
Example
Loop based on the name list in the "Sales Data" model.
V. Messages
(I) In - app Message
The in - app message node can send messages to users.
(II) Email
The email node can send emails to specified email addresses.
(III) SMS
The SMS node can send SMS messages to specified recipients.