In daily project development, we may encounter scenarios where the current view is a table, and clicking an action button transforms it into a card layout. 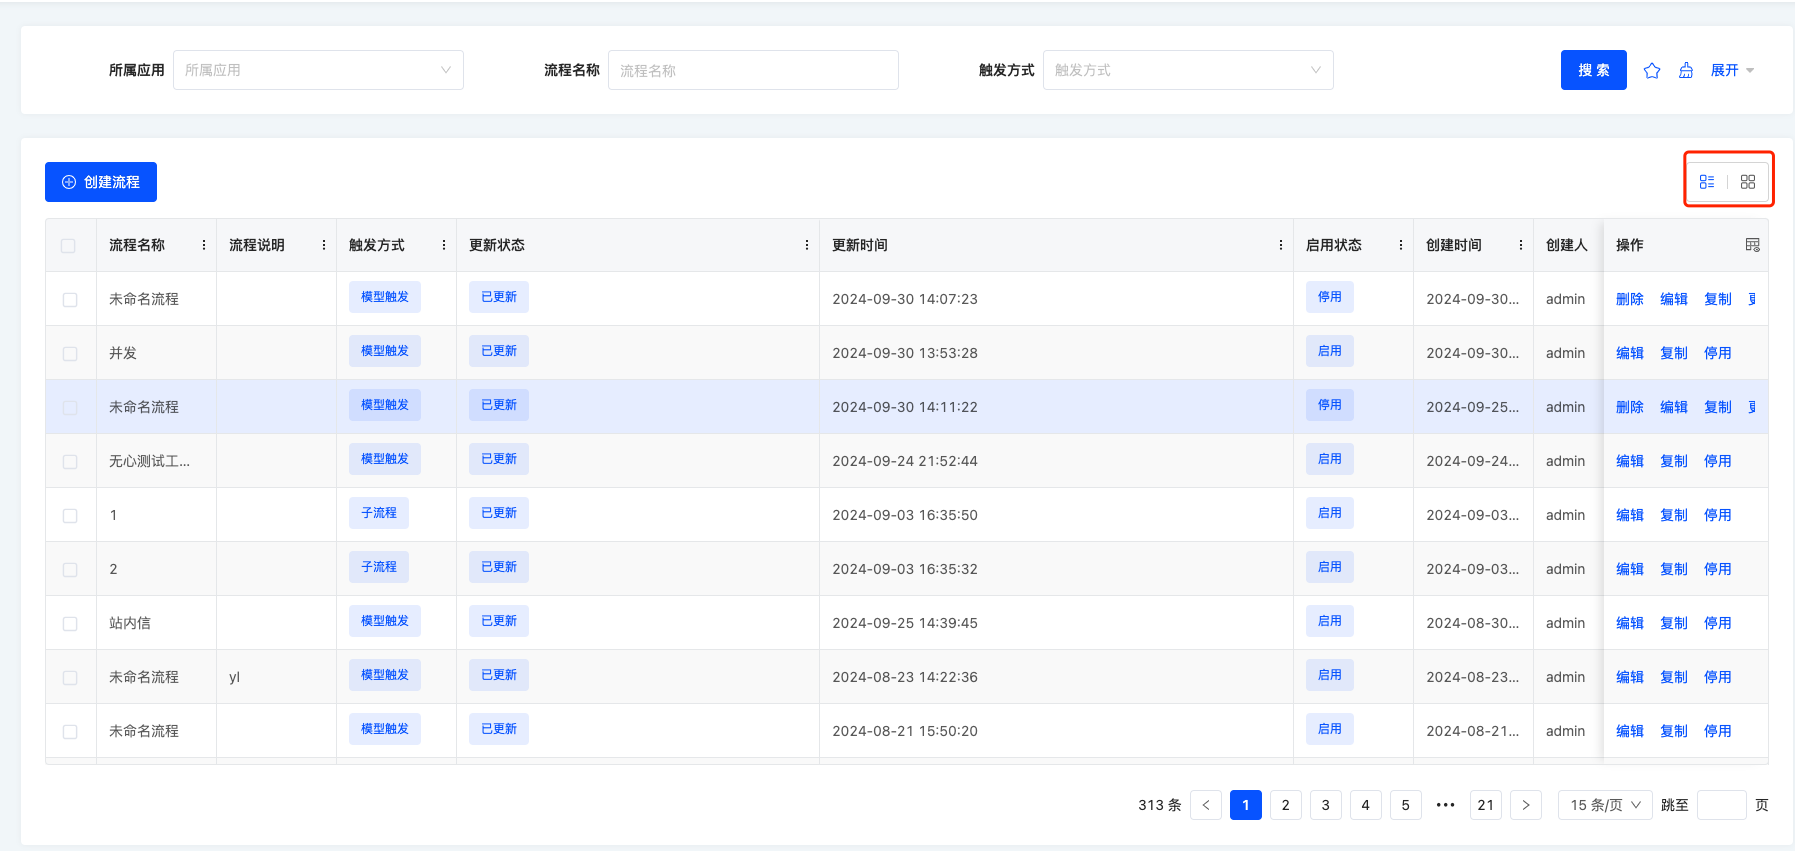

This article guides you through implementing this feature. As shown in the images, both the table and card views are contained within the current view scope. Therefore, we need a view container to encapsulate both the table and card. Since the table can use the platform's default rendering, we only need to customize the card view. We'll use the country menu in the resource module as an example, with the corresponding URL:
http://localhost:8080/page;module=resource;viewType=TABLE;model=resource.ResourceCountry;action=resource%23%E5%9B%BD%E5%AE%B6;scene=resource%23%E5%9B%BD%E5%AE%B6;target=OPEN_WINDOW;menu=%7B%22selectedKeys%22:%5B%22%E5%9B%BD%E5%AE%B6%22%5D,%22openKeys%22:%5B%22%E5%9C%B0%E5%9D%80%E5%BA%93%22,%22%E5%9C%B0%E5%8C%BA%22%5D%7DI. Source Code Download
II. Creating an Outer View Container
As mentioned, both the table and card views reside within the current view, so we need a view container to wrap them, allowing the container to include both table and card components. First, create TableWithCardViewWidget.ts:
// TableWithCardViewWidget.ts
import { BaseElementWidget, SPI, Widget } from '@oinone/kunlun-dependencies';
import TableWithCardView from './TableWithCardView.vue';

enum ListViewType {
  TABLE = 'table',
  CARD = 'card'
}

@SPI.ClassFactory(
  BaseElementWidget.Token({
    widget: 'TableWithCardViewWidget'
  })
)
  export class TableWithCardViewWidget extends BaseElementWidget {
    @Widget.Reactive()
    private listViewType: ListViewType = ListViewType.TABLE; // Current view type (table or card)

    public initialize(props) {
      if (!props.slotNames) {
        props.slotNames = ['tableWidget', 'cardWidget'];
      }
      super.initialize(props);
      this.setComponent(TableWithCardView);

      return this;
    }
}In the initialize function of TableWithCardViewWidget, we define two slots: tableWidget and cardWidget, which need to be received in the corresponding Vue file:
<template>
  <div class="list-view-wrapper">
    <!-- Table slot -->
    <div style="height: 100%" v-if="listViewType === 'table'">
      <slot name="tableWidget" />
    </div>
    <!-- Card slot -->
    <div v-if="listViewType === 'card'">
      <slot name="cardWidget"></slot>
    </div>
  </div>
</template>
<script lang="ts">
  import { defineComponent } from 'vue';

  export default defineComponent({
    props: ['listViewType', 'onChangeViewType'],
    inheritAttrs: false,
    setup(props, context) {
      const onChangeViewType = (listViewType) => {
        props.onChangeViewType(listViewType);
      };
    }
  });
</script>With the view container defined, we now register it via a custom layout.
III. Layout Registration
import { registerLayout, ViewType } from '@oinone/kunlun-dependencies';

registerLayout(
  `<view type="TABLE">
    <pack widget="group">
        <view type="SEARCH">
            <element widget="search" cols="4" slot="search"/>
        </view>
    </pack>
    <pack widget="group" slot="tableGroup" style="position: relative">
      <element widget="actionBar" slot="actionBar" slotSupport="action">
        <xslot name="actions" slotSupport="action" />
      </element>
      <element widget="TableWithCardViewWidget">
        <template slot="tableWidget">
          <element widget="table" slot="table" datasource-provider="true">
            <element widget="expandColumn" slot="expandRow" />
            <xslot name="fields" />
            <element widget="rowActions" slot="rowActions" />
          </element>
        </template>
        <template slot="cardWidget">
          <element widget="CardListViewWidget" datasource-provider="true" />
        </template>
      </element>
    </pack>
  </view>
`,
  {
    moduleName: 'resource.ResourceCountry',
    actionName: 'resource#国家',
    viewType: ViewType.Table
  }
);This layout is adapted from the platform's default table layout. Notice:
<element widget="TableWithCardViewWidget">
  <template slot="tableWidget">
    ...
  </template>
  <template slot="cardWidget">
    ...
  </template>
</element>This template registers the custom view container TableWithCardViewWidget with two templates. The slot attributes in each template correspond to the tableWidget and cardWidget slots defined in the initialize function of TableWithCardViewWidget:
<template slot="tableWidget">
  <element widget="table" slot="table" datasource-provider="true">
    <element widget="expandColumn" slot="expandRow" />
    <xslot name="fields" />
    <element widget="rowActions" slot="rowActions" />
  </element>
</template>The first slot tableWidget contains the default table layout, which will render the platform's default table component at runtime.
<template slot="cardWidget">
  <element widget="CardListViewWidget" datasource-provider="true" />
</template>The second slot cardWidget renders CardListViewWidget, which we need to customize as a custom view.
IV. Customizing the Card View
// CardListViewWidget.ts

import {
  ActiveRecord,
  BaseElementListViewWidget,
  BaseElementWidget,
  Condition,
  DEFAULT_TRUE_CONDITION,
  ISort,
  Pagination,
  QueryContext,
  queryPage,
  QueryVariables,
  SPI,
  Widget
} from '@oinone/kunlun-dependencies';
import cardList from './card-list.vue';

@SPI.ClassFactory(
  BaseElementWidget.Token({
    widget: 'CardListViewWidget'
  })
)
  export class CardListWidget extends BaseElementListViewWidget {
    public initialize(props) {
      super.initialize(props);
      this.setComponent(cardList);
      this.viewModel = props.model as string;
      return this;
    }

    @Widget.Reactive()
    public viewModel: string = '';

    @Widget.Reactive()
    public condition: string = '';

    @Widget.Reactive()
    public setCondition() {
      this.condition === '1==1' ? (this.condition = '2==2') : (this.condition = '1==1');
    }

    public async queryPage<T = ActiveRecord>(
      condition: Condition,
      pagination: Pagination,
      sort: ISort[],
      variables: QueryVariables,
      context: QueryContext
    ): Promise<any> {
      const model = this.metadataRuntimeContext.model;
      this.loading = true;
      const result = await queryPage(
        model.model,
        {
          currentPage: pagination.current,
          pageSize: this.showPagination ? pagination.pageSize : -1,
          sort,
          condition: condition.toString() === DEFAULT_TRUE_CONDITION ? '' : condition
        },
        undefined,
        variables,
        {
          maxDepth: 0
        }
      );
      this.loading = false;
      return result;
    }
}<template>
<div v-if="showDataSource && showDataSource.length">
<div v-for="data in showDataSource" :key="data.id">
{{ data.id }}
</div>
</div>
<div v-else>暂无数据</div>
</template>
<script lang="ts">
import { defineComponent, onMounted, ref, watch } from 'vue';
export default defineComponent({
mixins: [ManualWidget],
props: {
viewModel: {
type: String,
default: ''
},
loading: {
type: Boolean,
default: false
},
pagination: {
type: Object
},
showDataSource: {
type: Array
},
refreshProcess: {
type: Function
},
onPaginationChange: {
type: Function
}
},
components: { OioPagination, OioSpin },
setup(props) {
return {};
}
});
</script>After completing the card widget, we need a function to switch between card and table views.
V. View Type Switching
Add the view switching function to the Vue file corresponding to TableWithCardViewWidget:
<template>
  <div class="list-view-wrapper">
    <!-- View type switch button -->
    <button @click="onChangeViewType(listViewType === 'table' ? 'card' : 'table')">
      {{ listViewType === 'table' ? '切换成卡片' : '切换成表格' }}
    </button>
    <!-- Table slot -->
    <div style="height: 100%" v-if="listViewType === 'table'">
      <slot name="tableWidget" />
    </div>
    <!-- Card slot -->
    <div v-if="listViewType === 'card'">
      <slot name="cardWidget"></slot>
    </div>
  </div>
</template>
<script lang="ts">
  import { defineComponent } from 'vue';

  export default defineComponent({
    props: ['listViewType', 'onChangeViewType'],
    inheritAttrs: false,
    setup(props, context) {
      const onChangeViewType = (listViewType) => {
        props.onChangeViewType(listViewType);
      };
    }
  });
</script>Finally, implement the onChangeViewType method in TableWithCardViewWidget.ts:
public resetSearch() {
    getRouterInstance()!.push({
      segments: [
        {
          path: 'page',
          parameters: {
            searchBody: undefined,
            currentPage: undefined
          },
          extra: { preserveParameter: true }
        }
      ]
    });
  }

  @Widget.Method()
  public onChangeViewType(viewType: ListViewType, init: boolean): void {
    this.listViewType = viewType;
    this.reloadDataSource(undefined);
    this.reloadActiveRecords(undefined);
    // Uncomment to reset search if needed
    // this.resetSearch();
    if (!init) {
      const tableWidget = this.dslSlots?.tableWidget?.widgets?.[0];
      if (tableWidget && tableWidget.automatic == null) {
        tableWidget.automatic = false;
      }
      const cardWidget = this.dslSlots?.cardWidget?.widgets?.[0];
      if (cardWidget && cardWidget.automatic == null) {
        cardWidget.automatic = false;
      }
    }
}This completes all the functionality for switching between multiple views.