I. Email Configuration Management
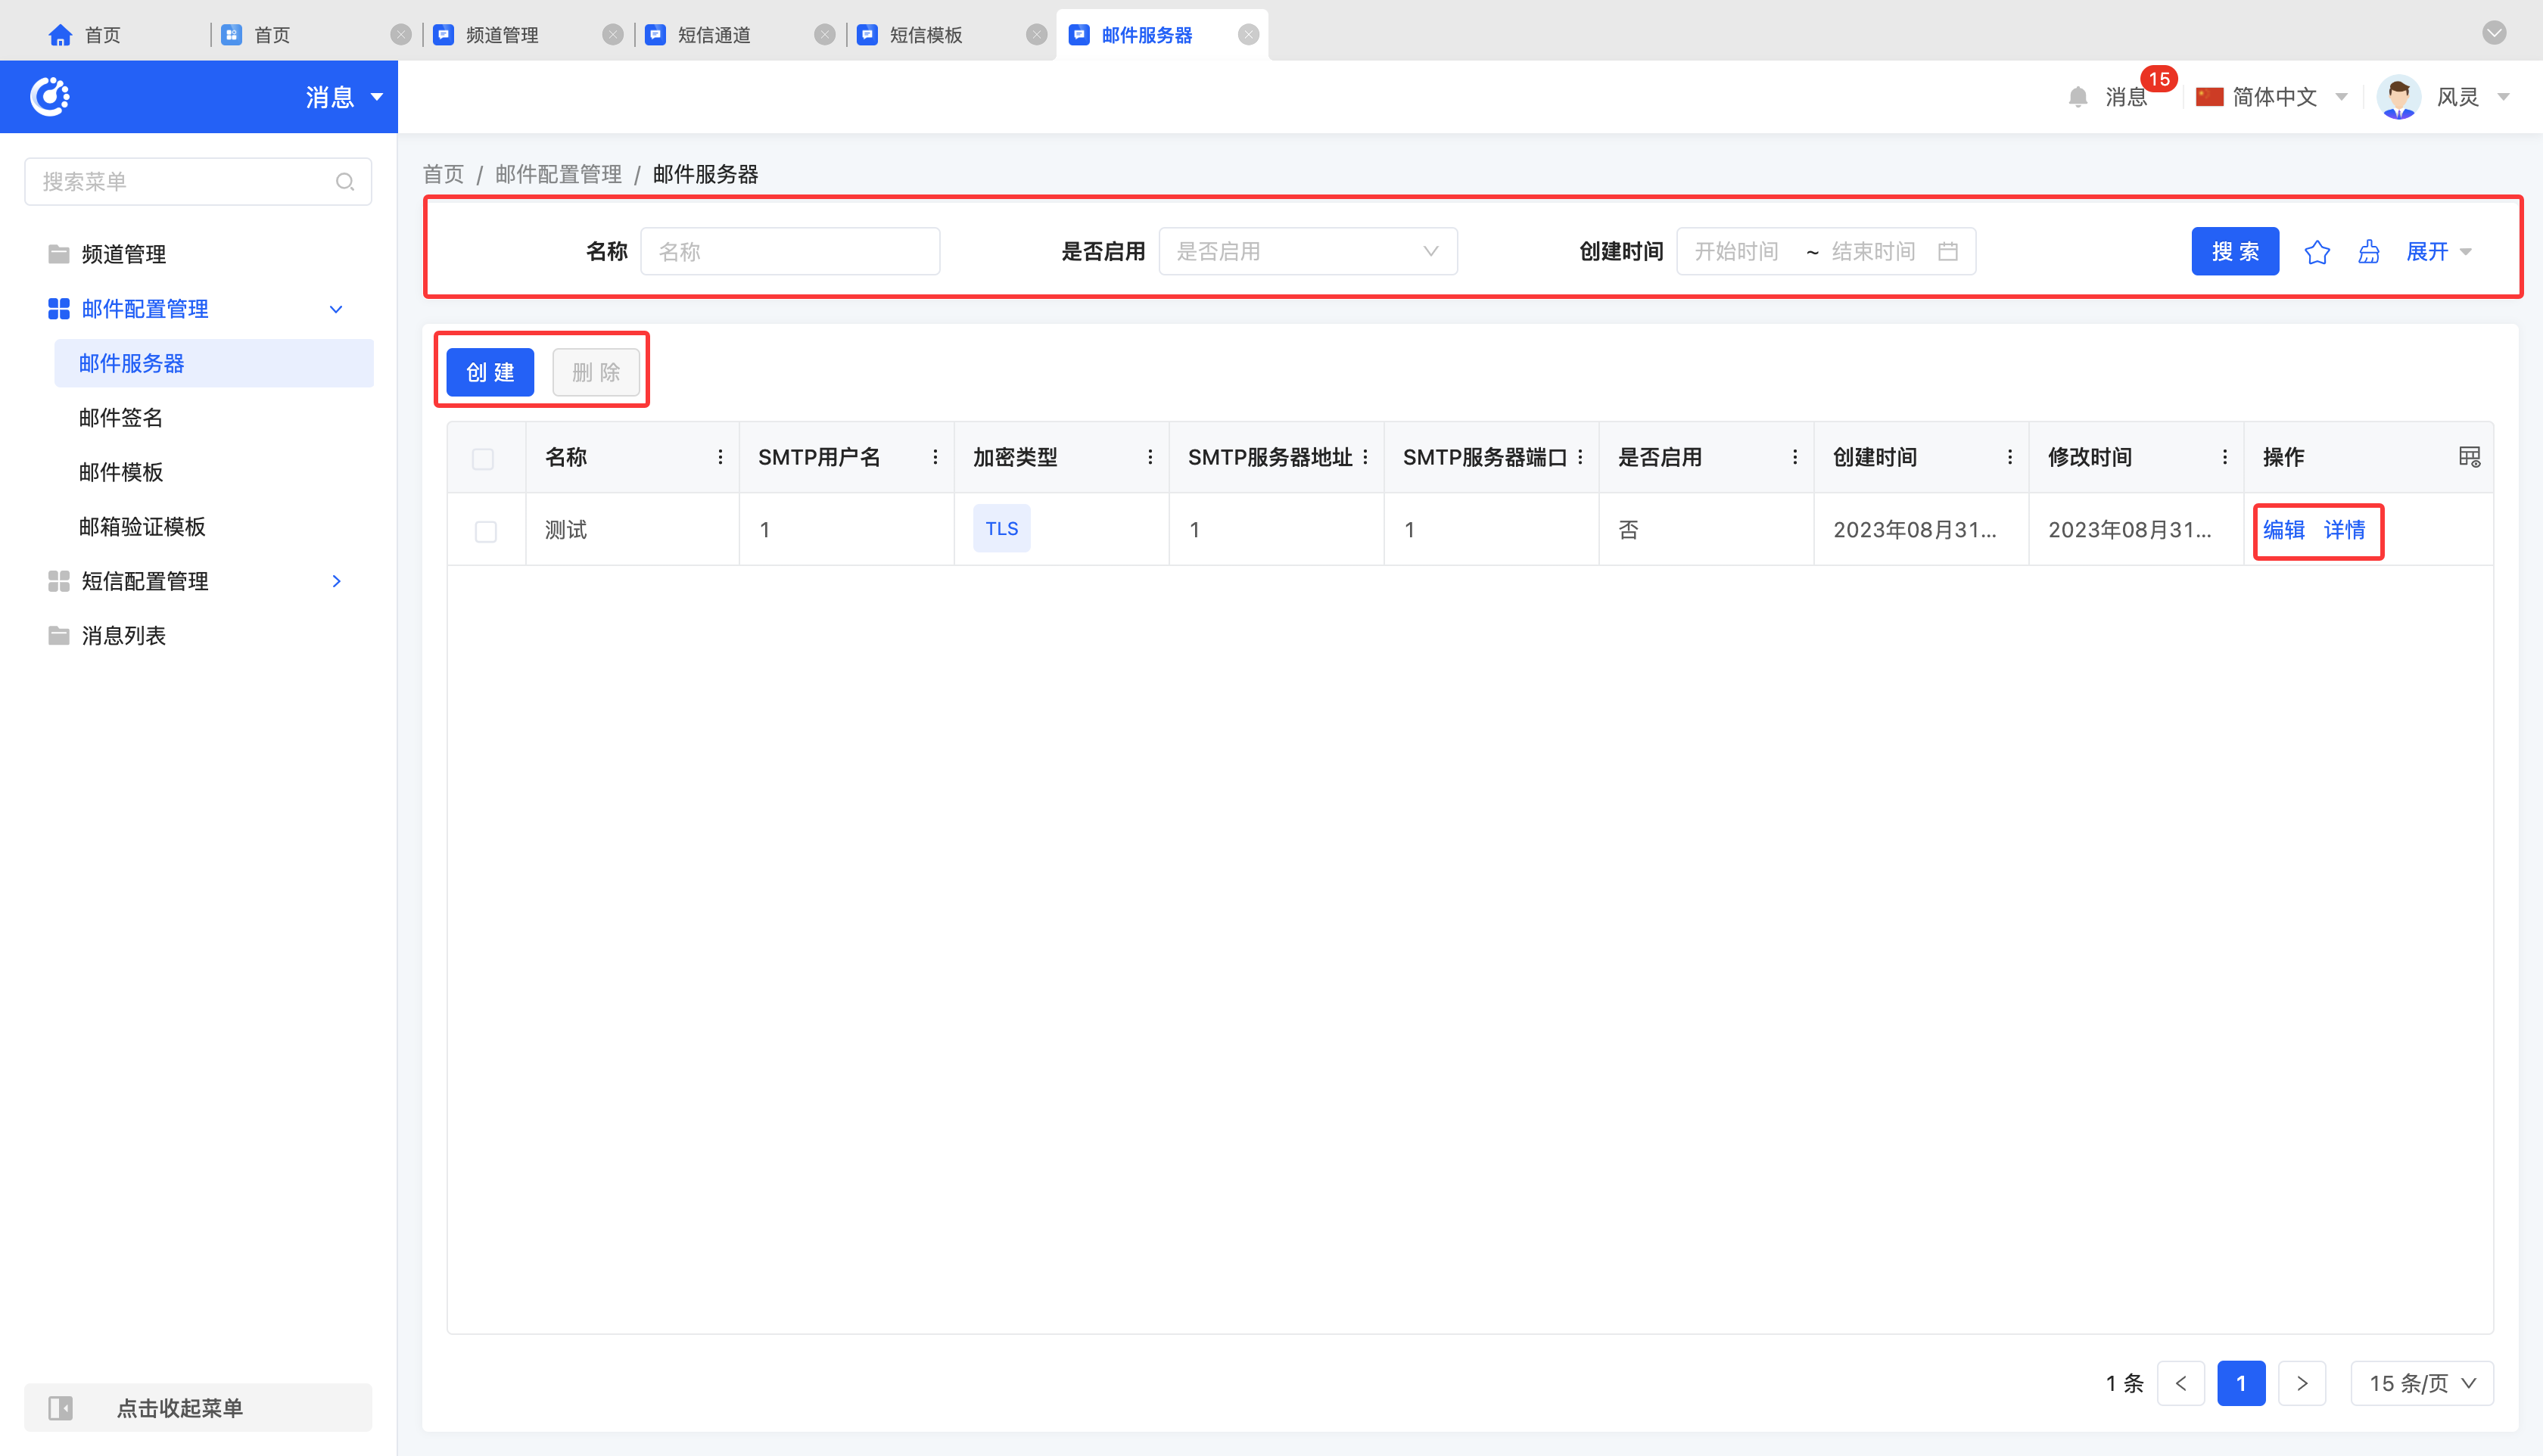
(Ⅰ) Email Server
1. Function Introduction
The system supports custom email server configuration, allowing users to set various parameters of the email server according to actual needs, ensuring that emails can be sent and received accurately and promptly. Users can configure based on their own email service providers, server addresses, port numbers, and other information to meet email sending needs in different scenarios.
2. Operation Methods
- Filter: Enter or select corresponding filter conditions according to actual scenario requirements to filter email servers.
- Add: Click "Create", enter the required configuration information and save to successfully create a new email server.
- Edit: Click "Edit" to update or modify relevant information of the email server.
- Details: Click "Details" to view detailed information of the selected email server, including configuration parameters, status, etc.
- Delete: Select an email server and click "Delete" to remove the email server.
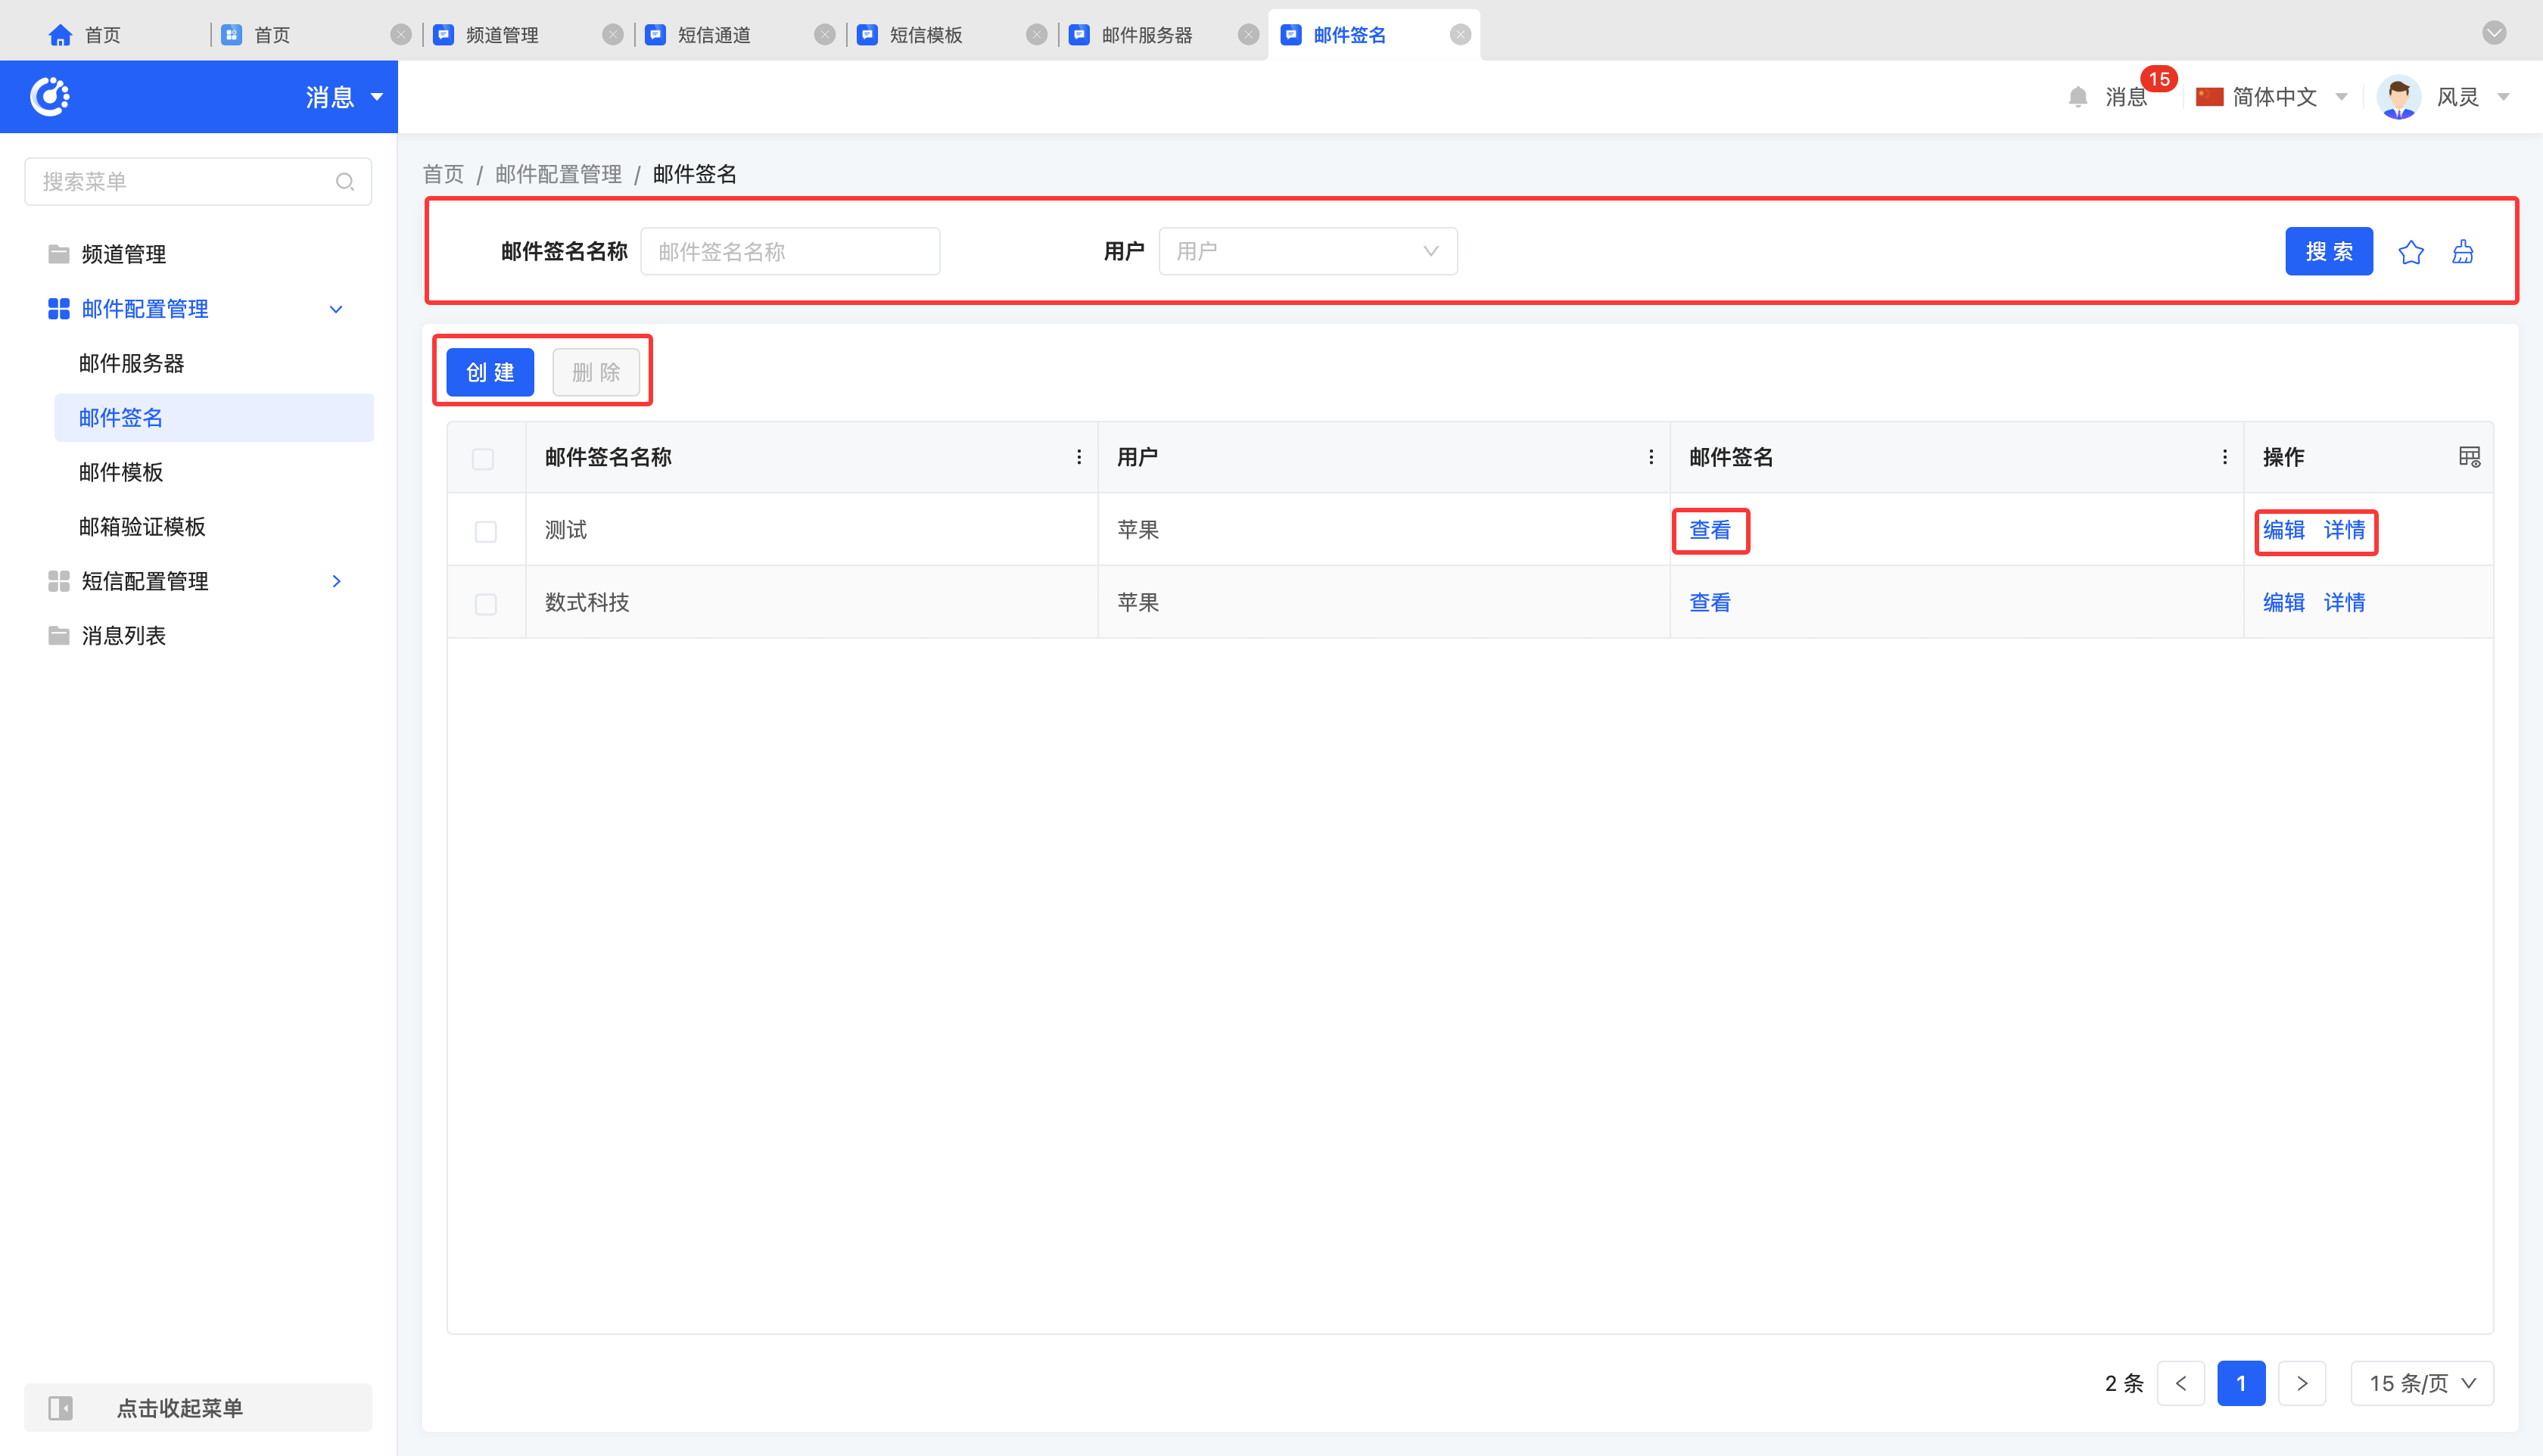
(Ⅱ) Email Signature
1. Function Introduction
The system supports the email signature configuration function. Users can customize the email signature content according to the corporate or personal brand image, including various elements such as text, images, and links. By configuring the email signature, it not only enhances the professionalism of the email but also strengthens brand recognition, enabling recipients to identify the email source more quickly and improving communication efficiency.
2. Operation Methods
- Filter: Enter or select corresponding filter conditions according to actual scenario requirements to filter email signatures.
- Add: Click "Create", enter the required configuration information and save to successfully create a new email signature.
- View: Click "View" to view the selected email signature.
- Edit: Click "Edit" to update or modify relevant information of the email signature.
- Details: Click "Details" to view detailed information of the selected email signature, including configuration parameters, status, etc.
- Delete: Select an email signature and click "Delete" to remove the email signature.
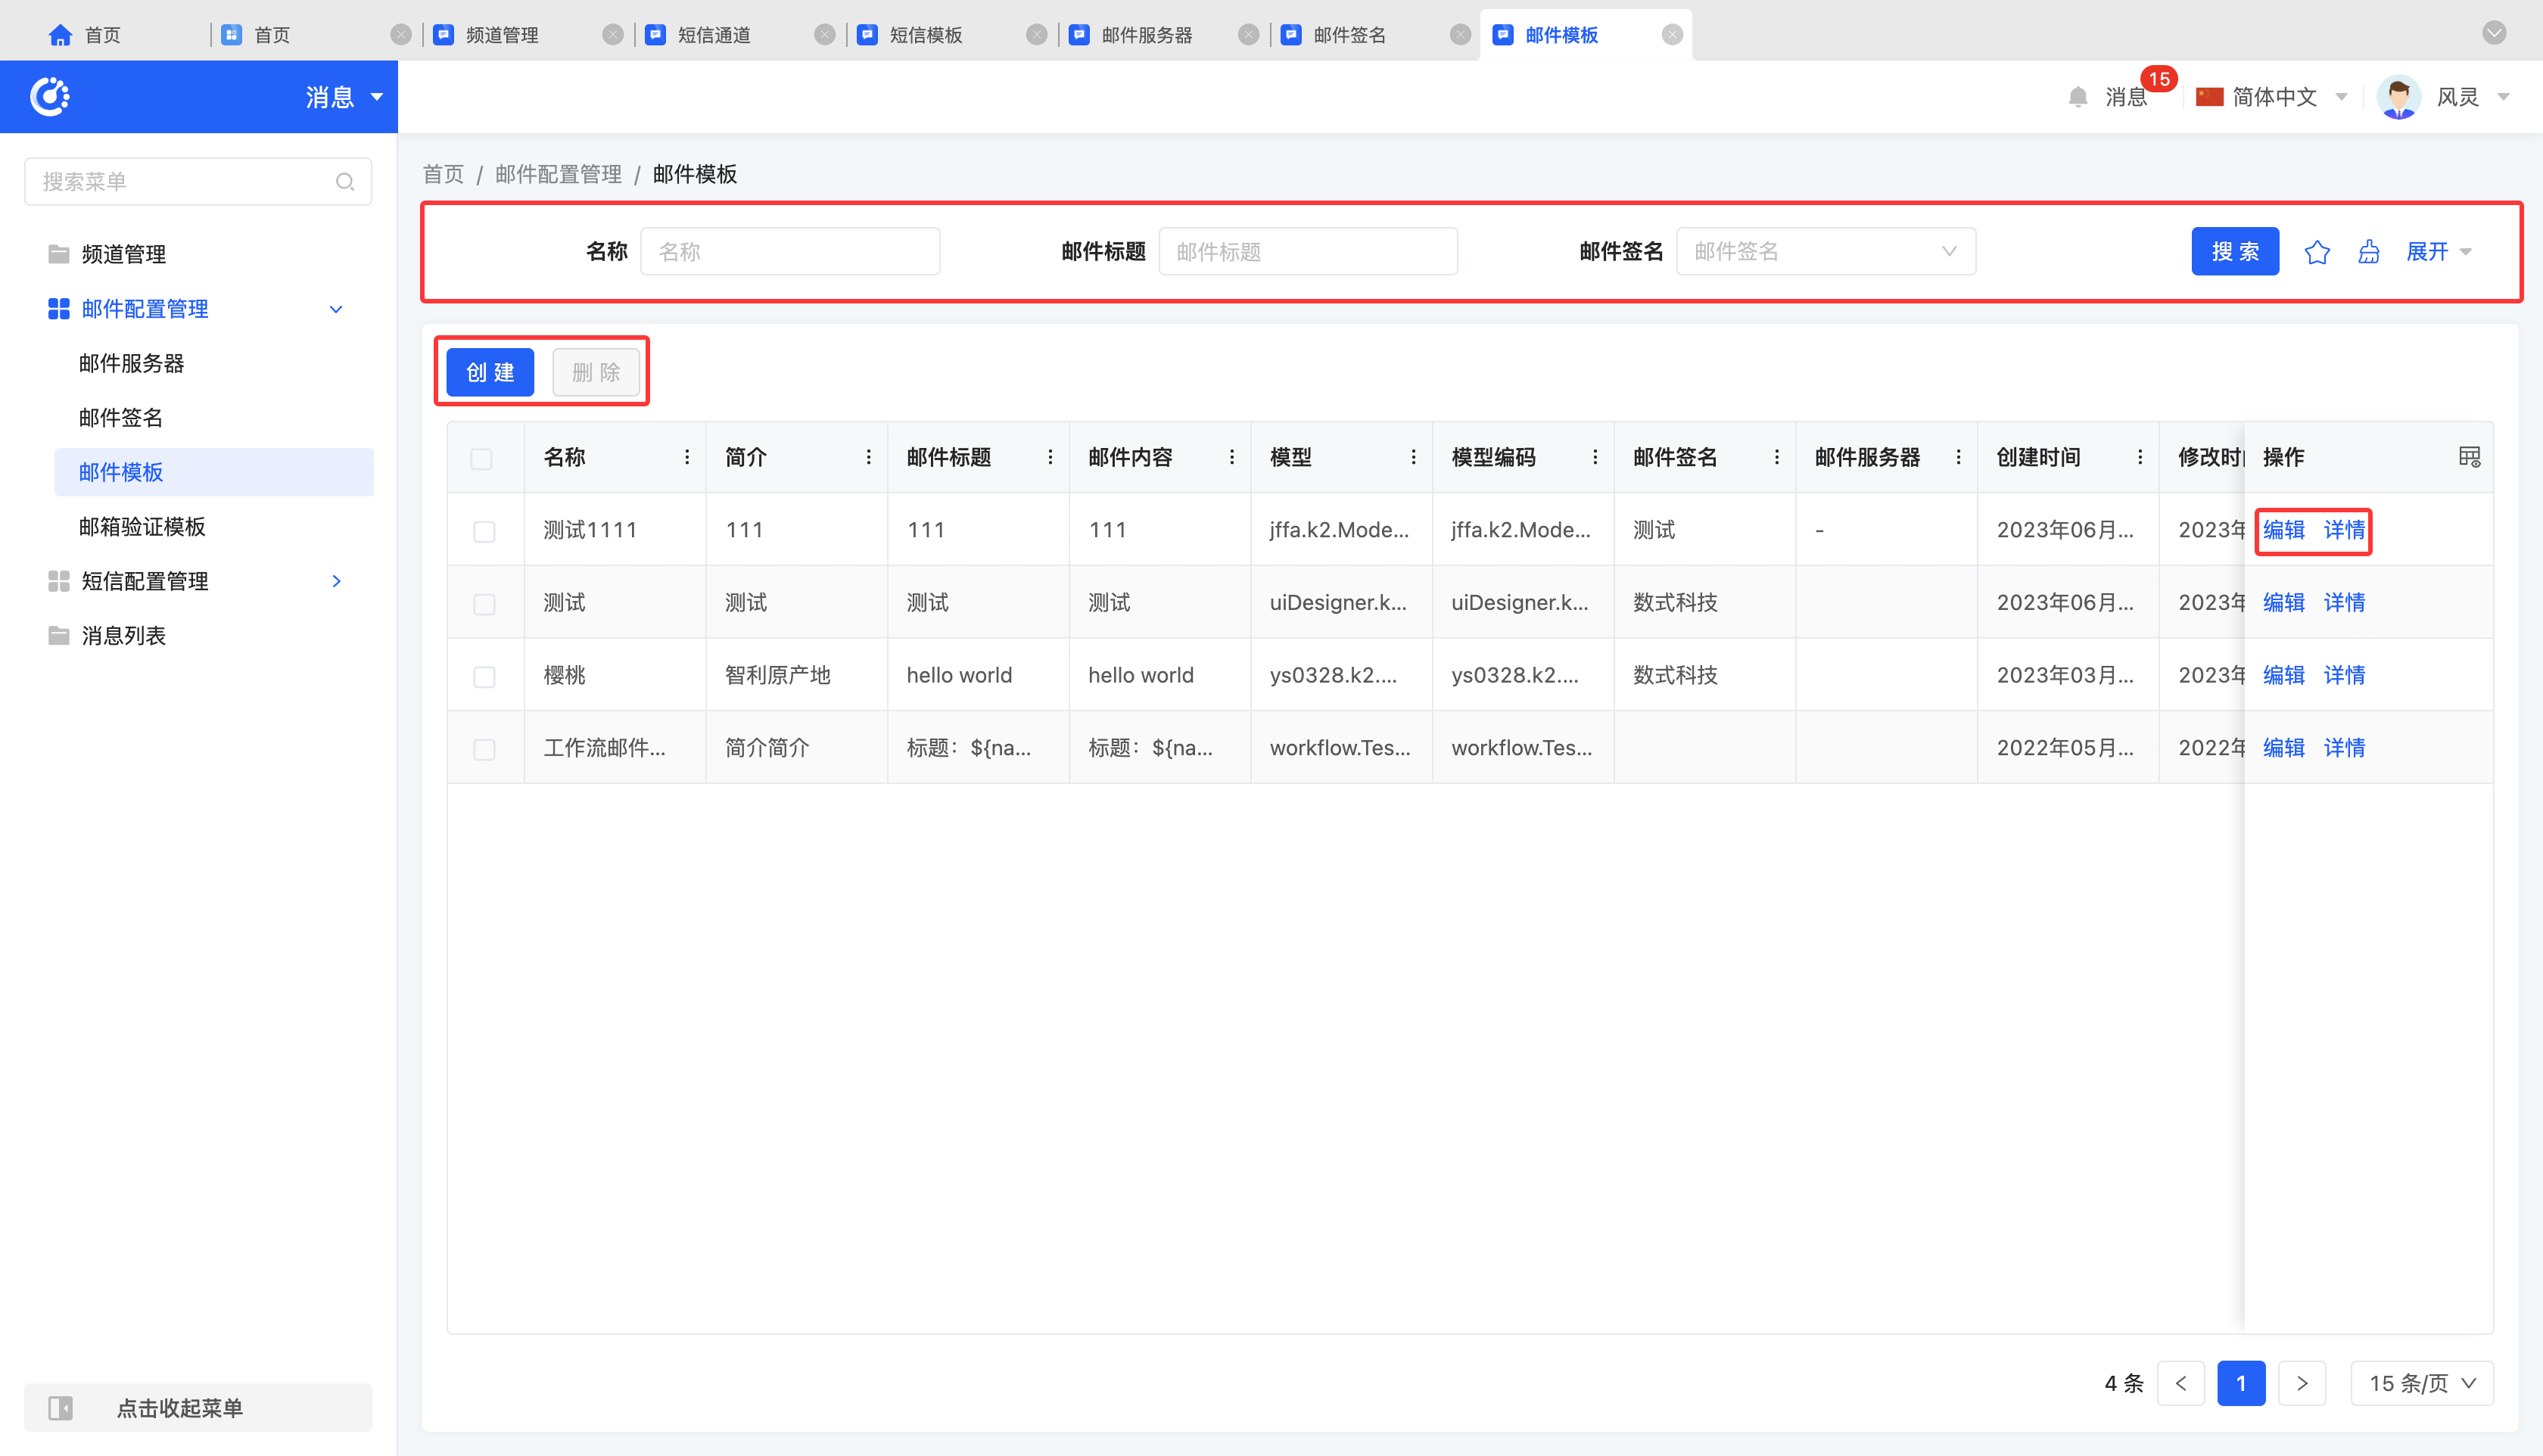
(Ⅲ) Email Template
1. Function Introduction
The system supports custom email templates, allowing users to flexibly design email layouts, colors, and fonts according to brand, marketing, or communication needs, meeting diverse email sending needs and improving email communication efficiency.
Note
Email templates are not directly applied in the designer but are used during the code writing process.
2. Operation Methods
- Filter: Enter or select corresponding filter conditions according to actual scenario requirements to filter email templates.
- Add: Click "Create", enter the required configuration information and save to successfully create a new email template.
- Edit: Click "Edit" to update or modify relevant information of the email template.
- Details: Click "Details" to view detailed information of the selected email template, including configuration parameters, status, etc.
- Delete: Select an email template and click "Delete" to remove the email template.
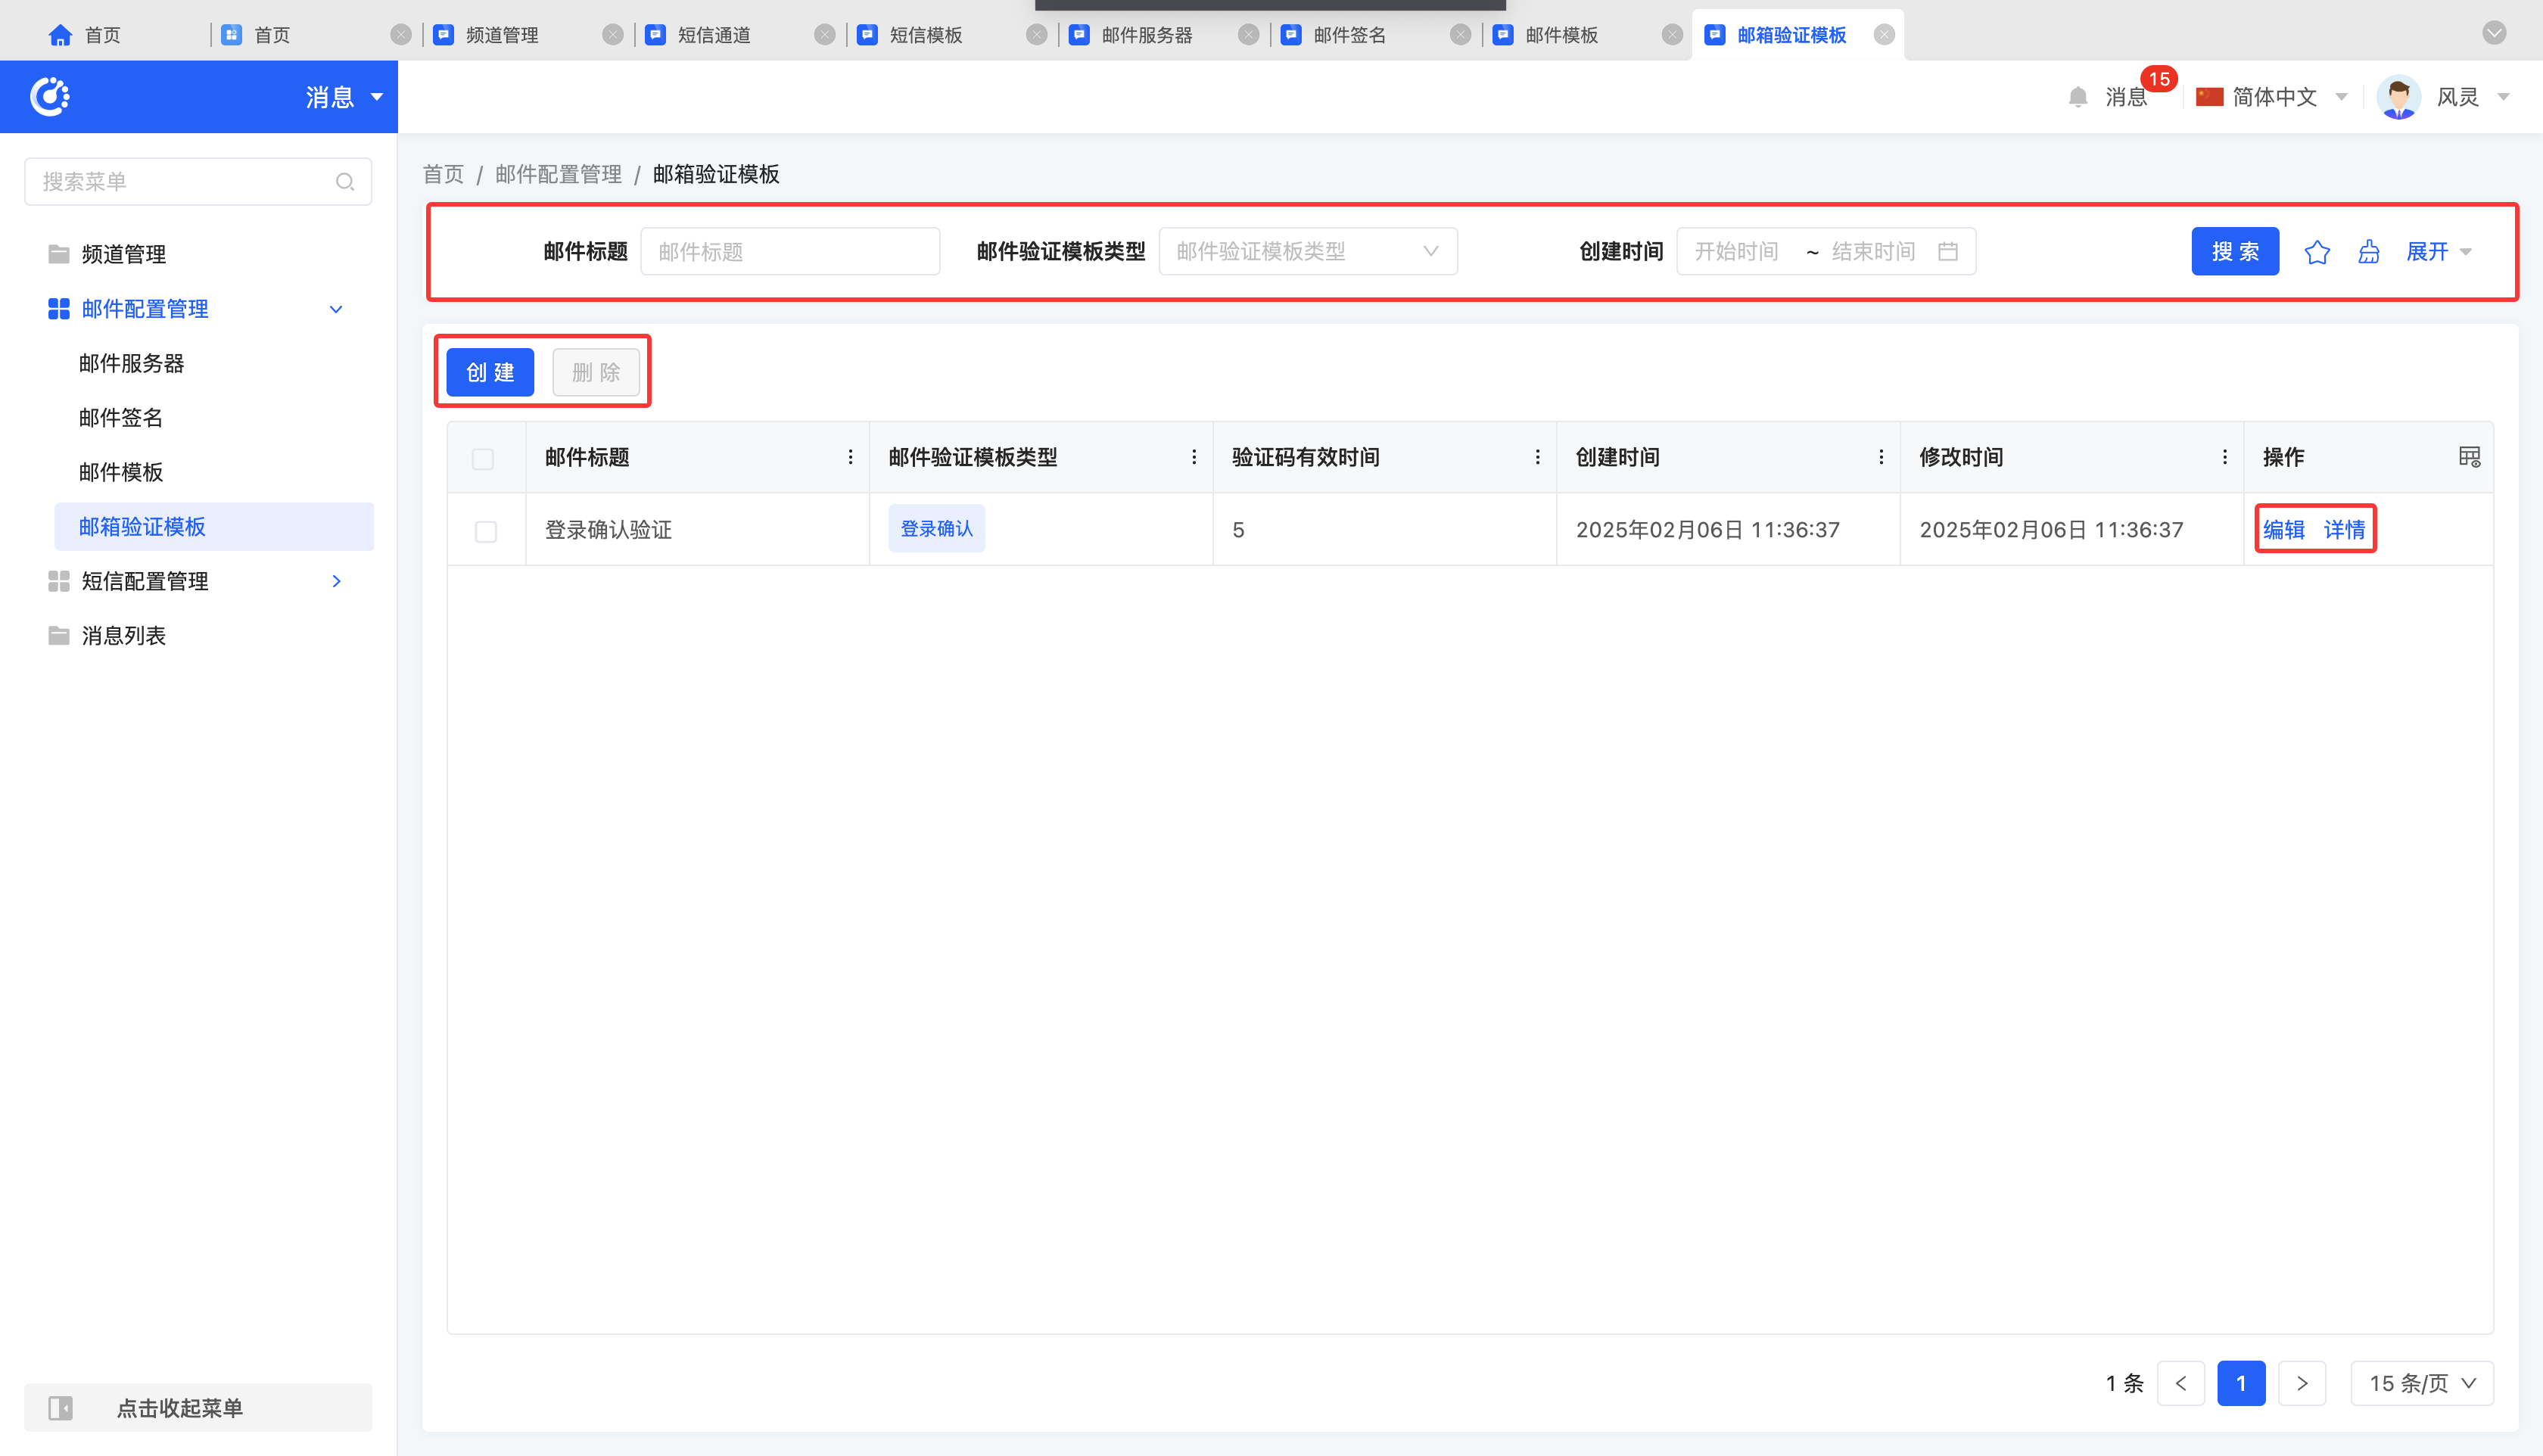
(Ⅳ) Email Verification Template
1. Function Introduction
The system supports custom email verification templates, allowing users to flexibly set corresponding verification email content according to different uses and requirements.
Note
Email verification templates are not directly applied in the designer but are used during the code writing process.
2. Operation Methods
- Filter: Enter or select corresponding filter conditions according to actual scenario requirements to filter email verification templates.
- Add: Click "Create", enter the required configuration information and save to successfully create a new email verification template.
- Edit: Click "Edit" to update or modify relevant information of the email verification template.
- Details: Click "Details" to view detailed information of the selected email verification template, including configuration parameters, status, etc.
- Delete: Select an email verification template and click "Delete" to remove the email verification template.
II. SMS Configuration Management
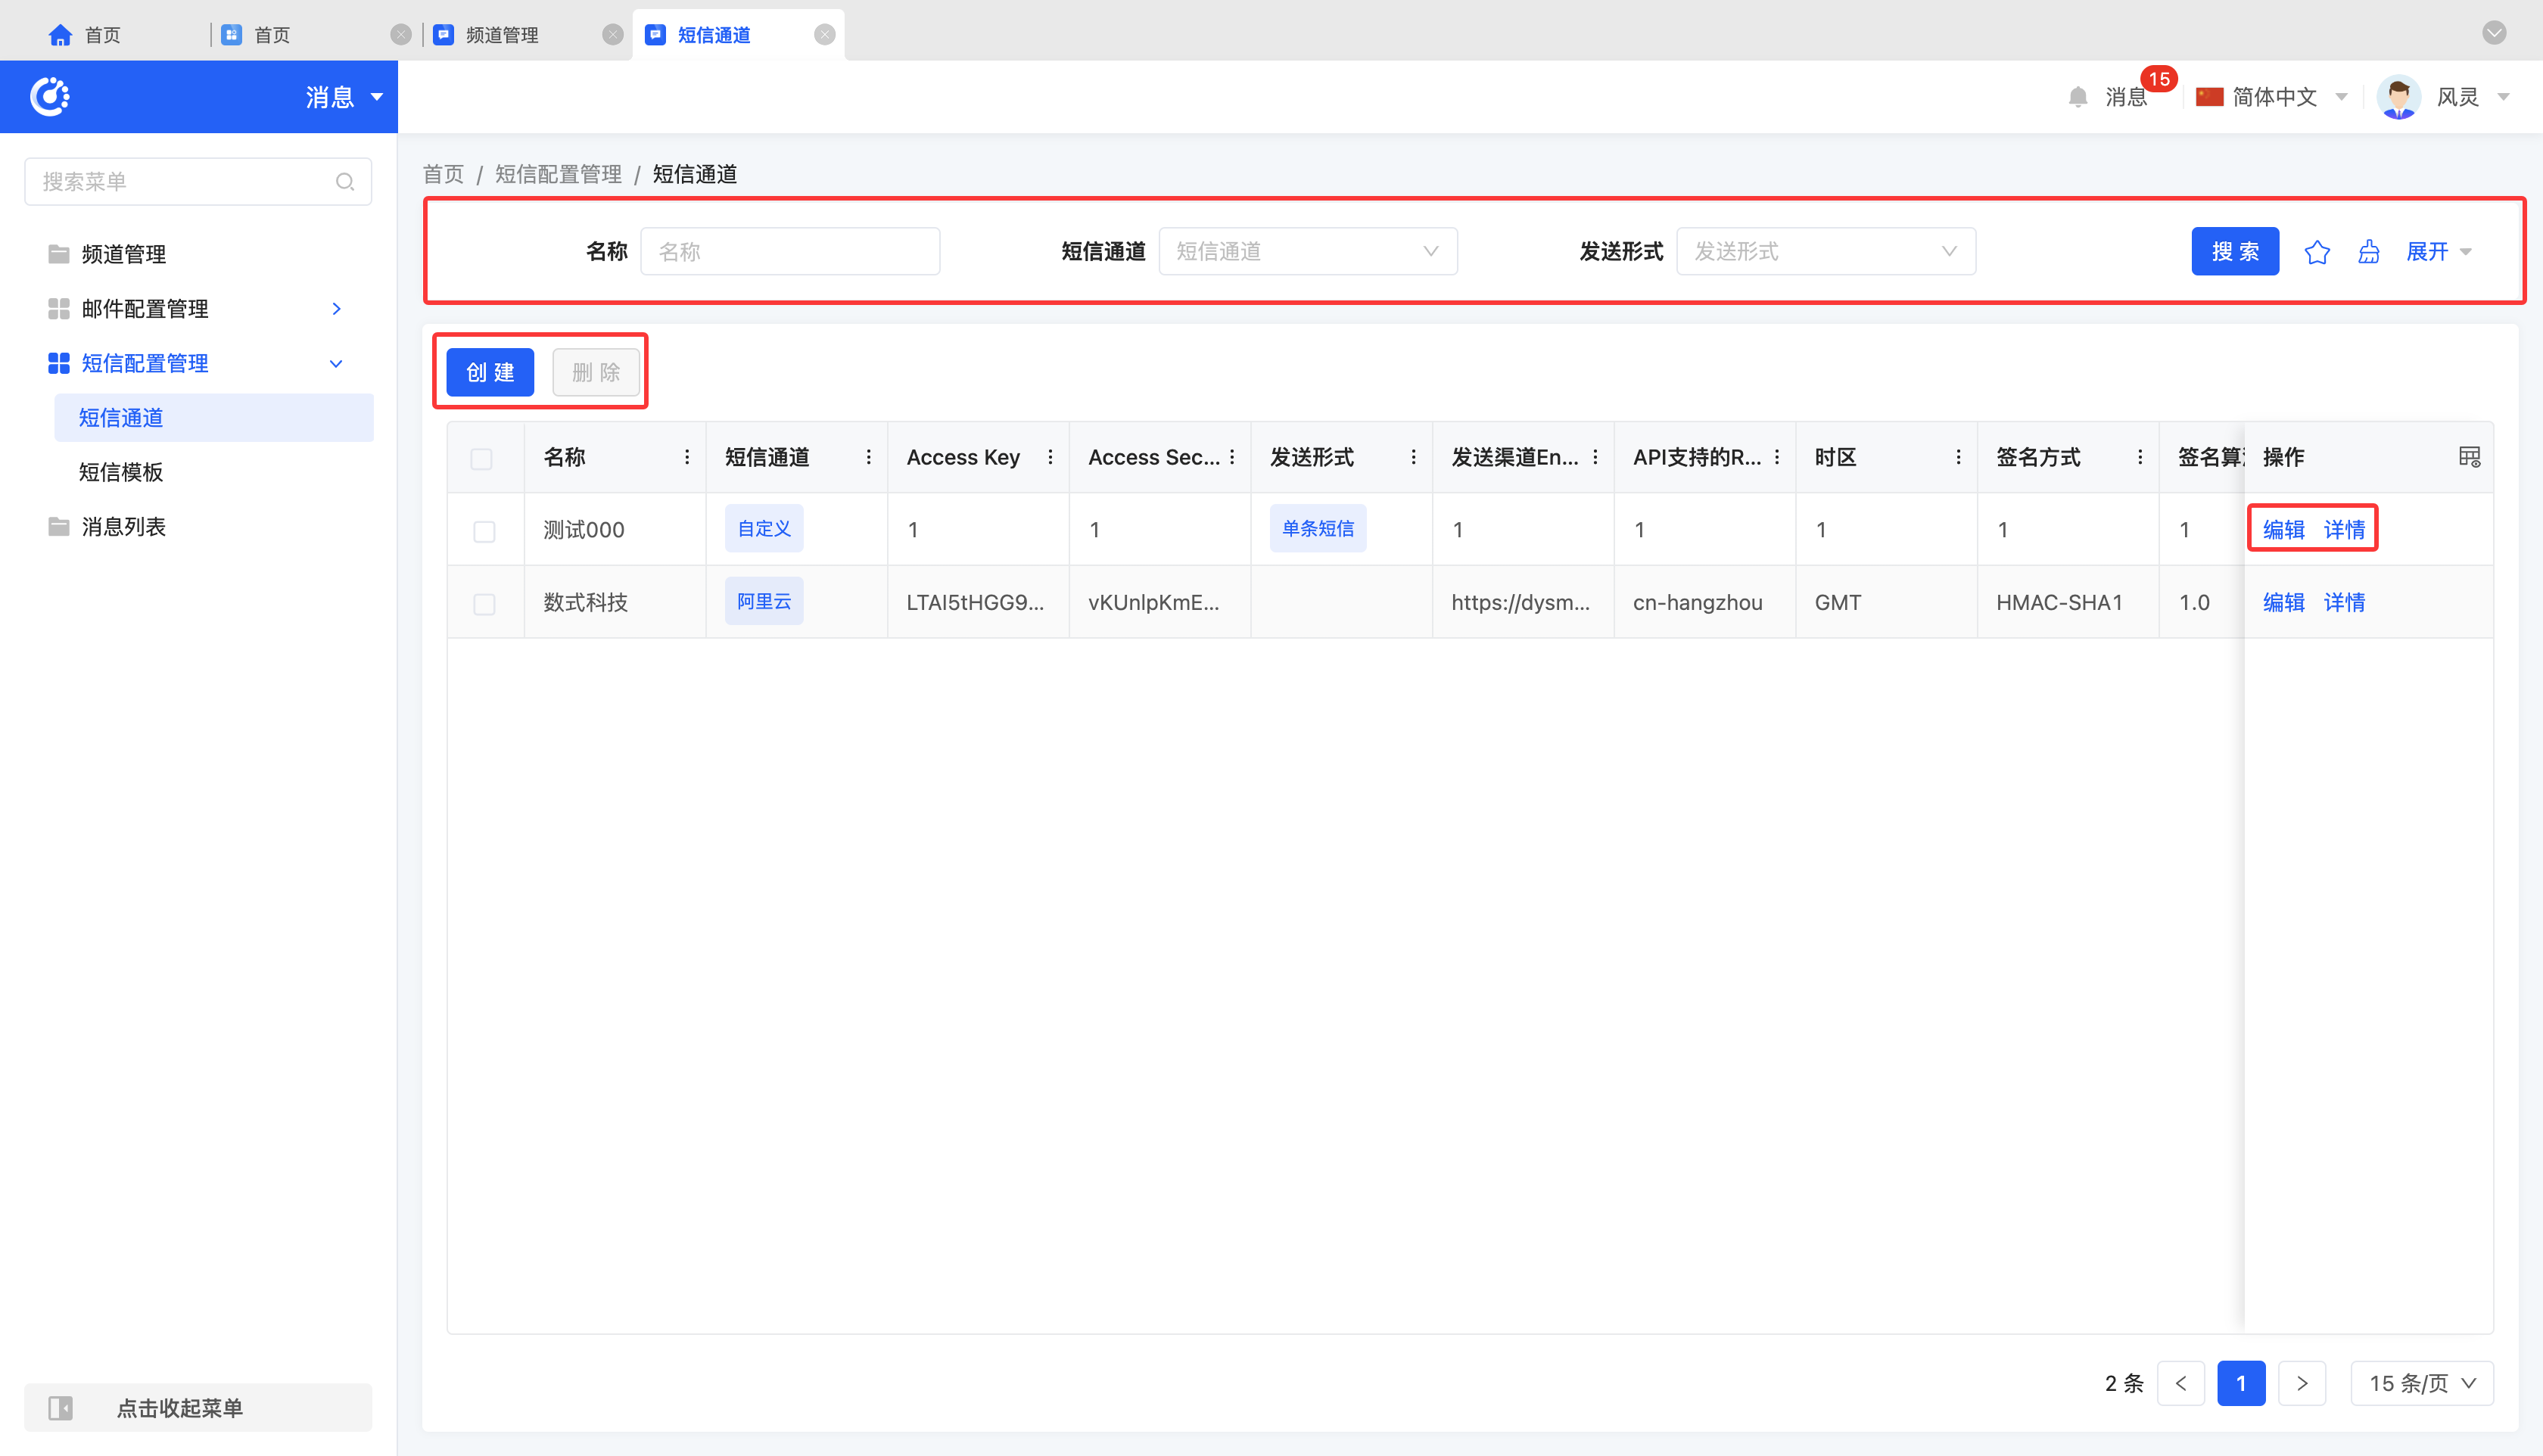
(Ⅰ) SMS Channel
1. Function Introduction
Due to the specific requirements of different versions, services, or business scenarios, different SMS channels may need to be selected when configuring SMS templates. To meet this flexible configuration requirement, we provide an SMS channel configuration management interface to ensure the accuracy and efficiency of SMS services.
2. Operation Methods
- Filter: Enter or select corresponding filter conditions according to actual scenario requirements to filter SMS channels.
- Add: Click "Create", enter the required configuration information and save to successfully create a new SMS channel.
- Edit: Click "Edit" to update or modify relevant information of the SMS channel.
- Details: Click "Details" to view detailed information of the selected SMS channel, including configuration parameters, status, etc.
- Delete: Select an SMS channel and click "Delete" to remove the SMS channel.
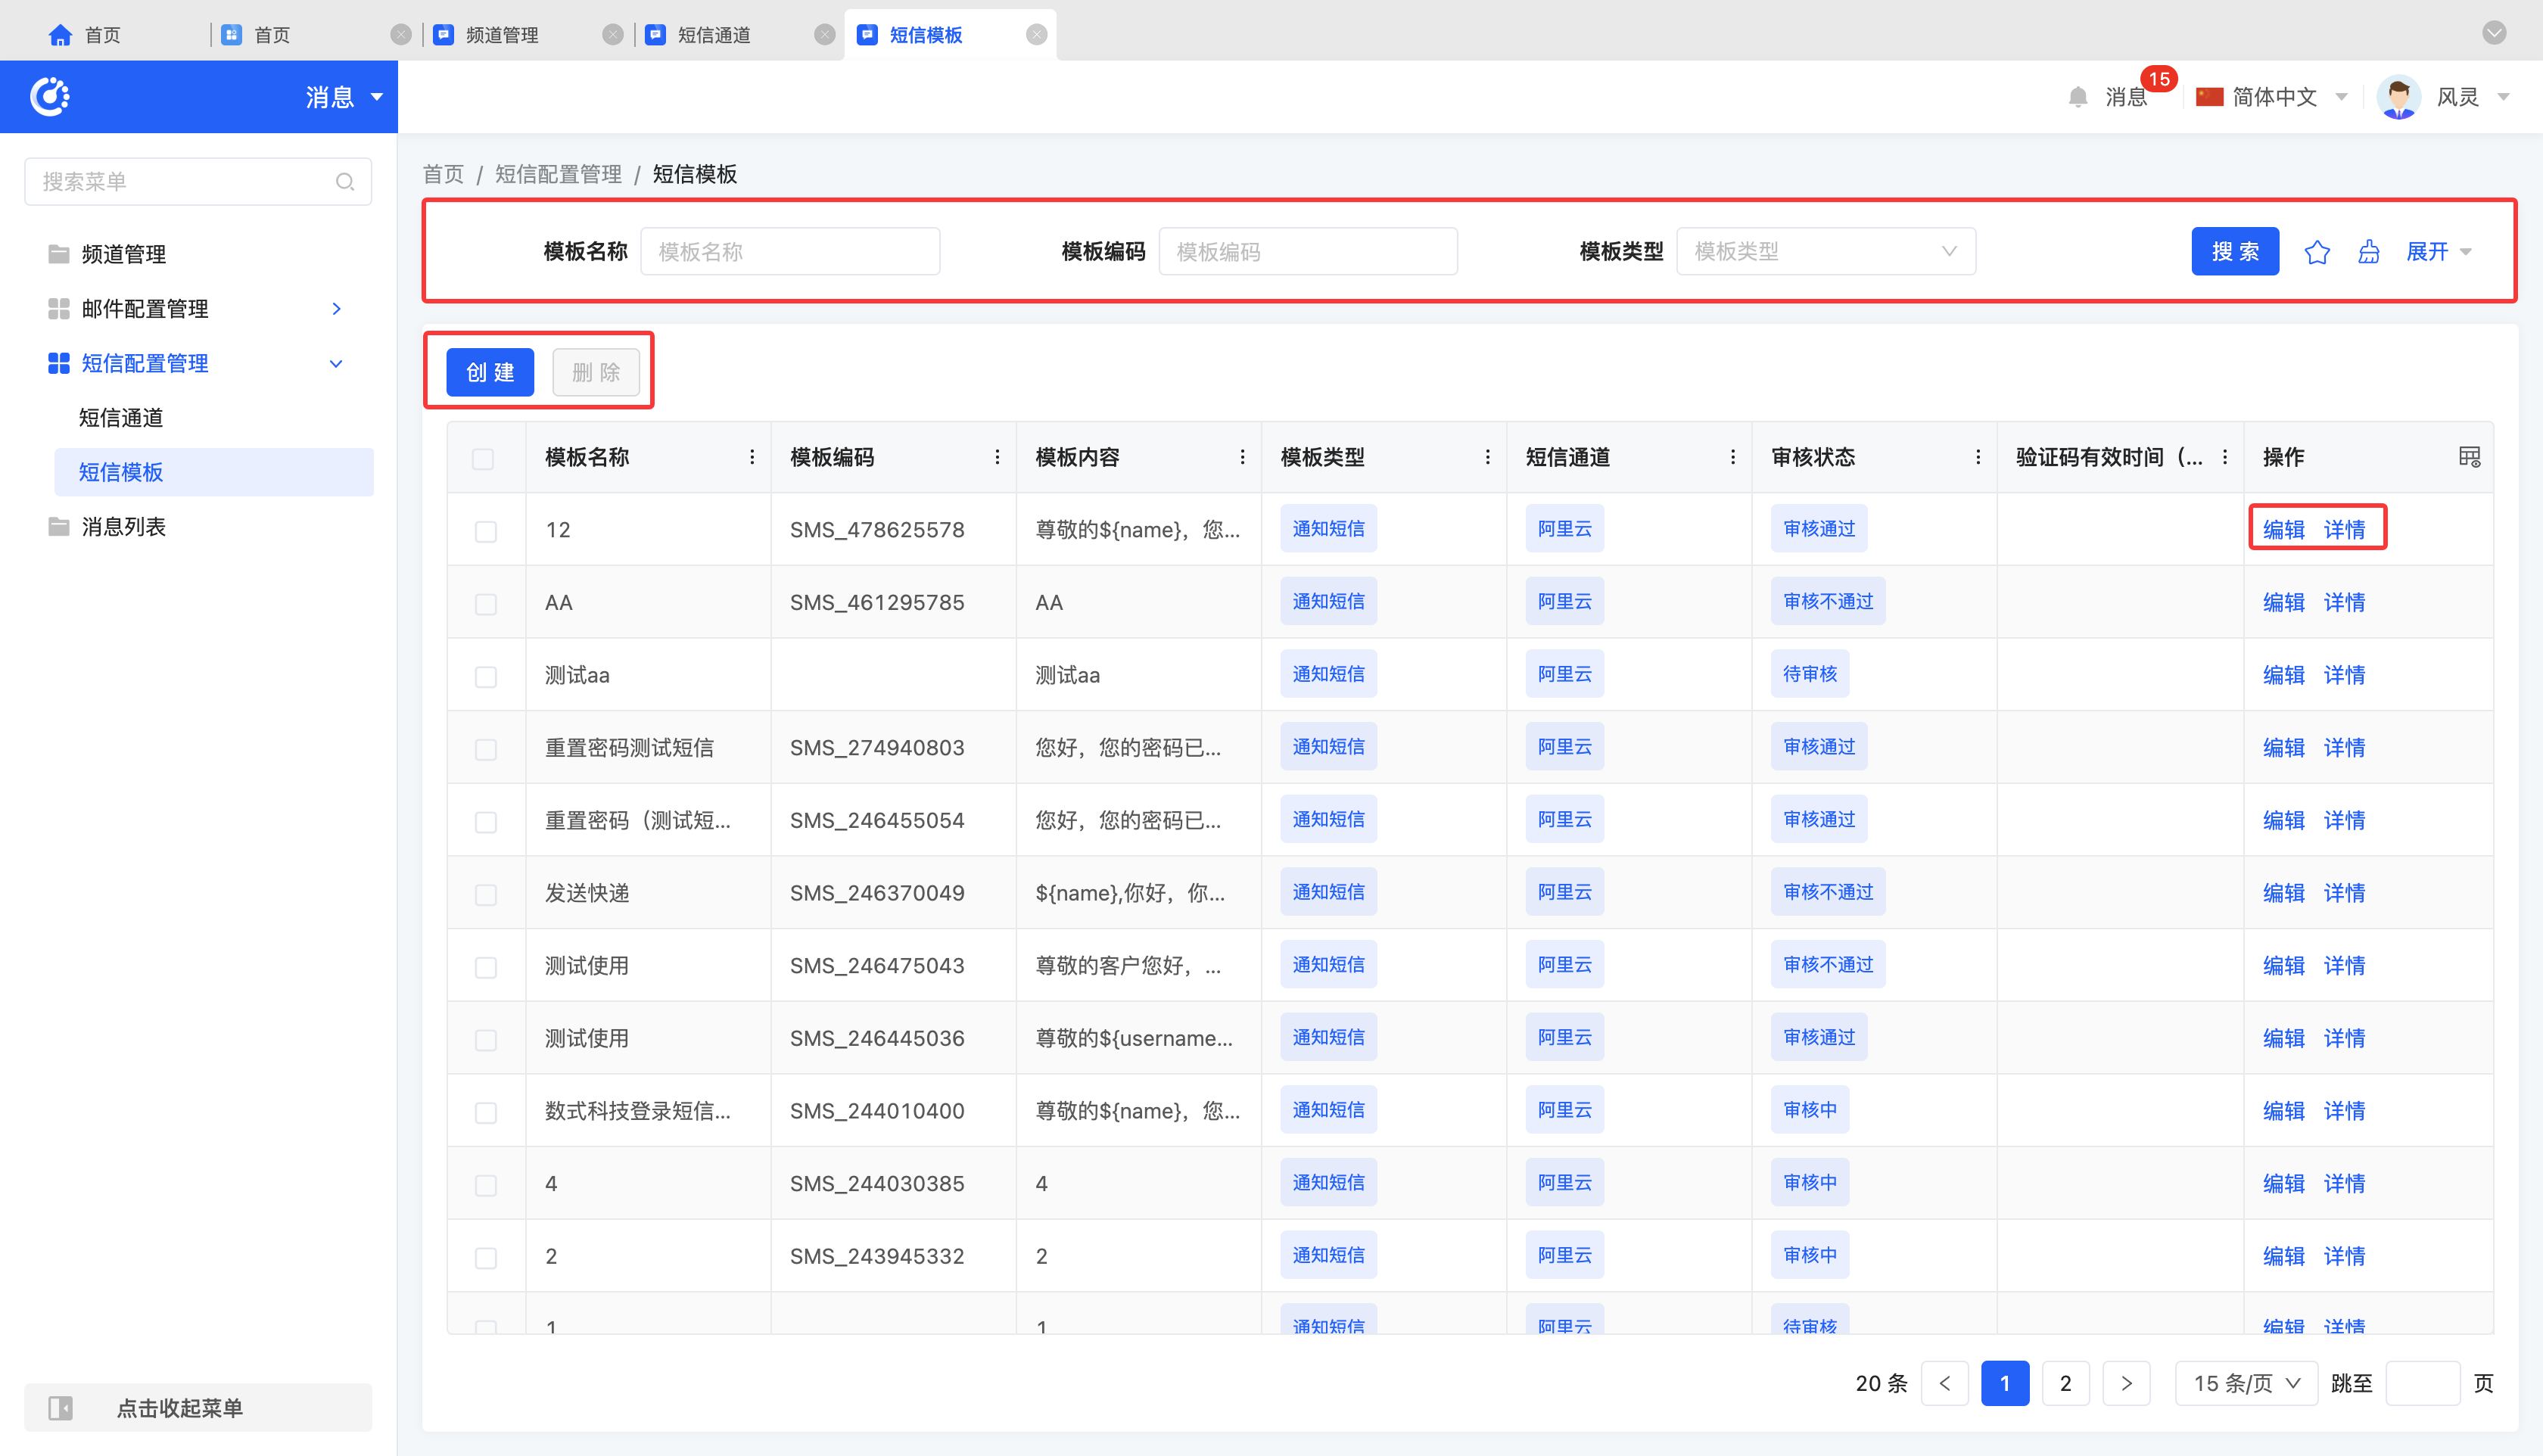
(Ⅱ) SMS Template
1. Function Introduction
In the "SMS" nodes of workflows, micro - flows, and data processes, configured SMS templates can be selected for use.
2. Operation Methods
- Filter: Enter or select corresponding filter conditions according to actual scenario requirements to filter SMS templates.
- Add: Click "Create", enter the required configuration information and save to successfully create a new SMS template.
- Edit: Click "Edit" to update or modify relevant information of the SMS template.
- Details: Click "Details" to view detailed information of the selected SMS template, including configuration parameters, status, etc.
- Delete: Select an SMS template and click "Delete" to remove the SMS template.
- Submit for Review: For SMS templates in the pending review state or those that have failed the review, click "Submit for Review". After the review is passed, the SMS node can be used normally for related operations.
Note
For SMS templates that have passed the review or are under review, editing or resubmitting for review operations are not allowed.
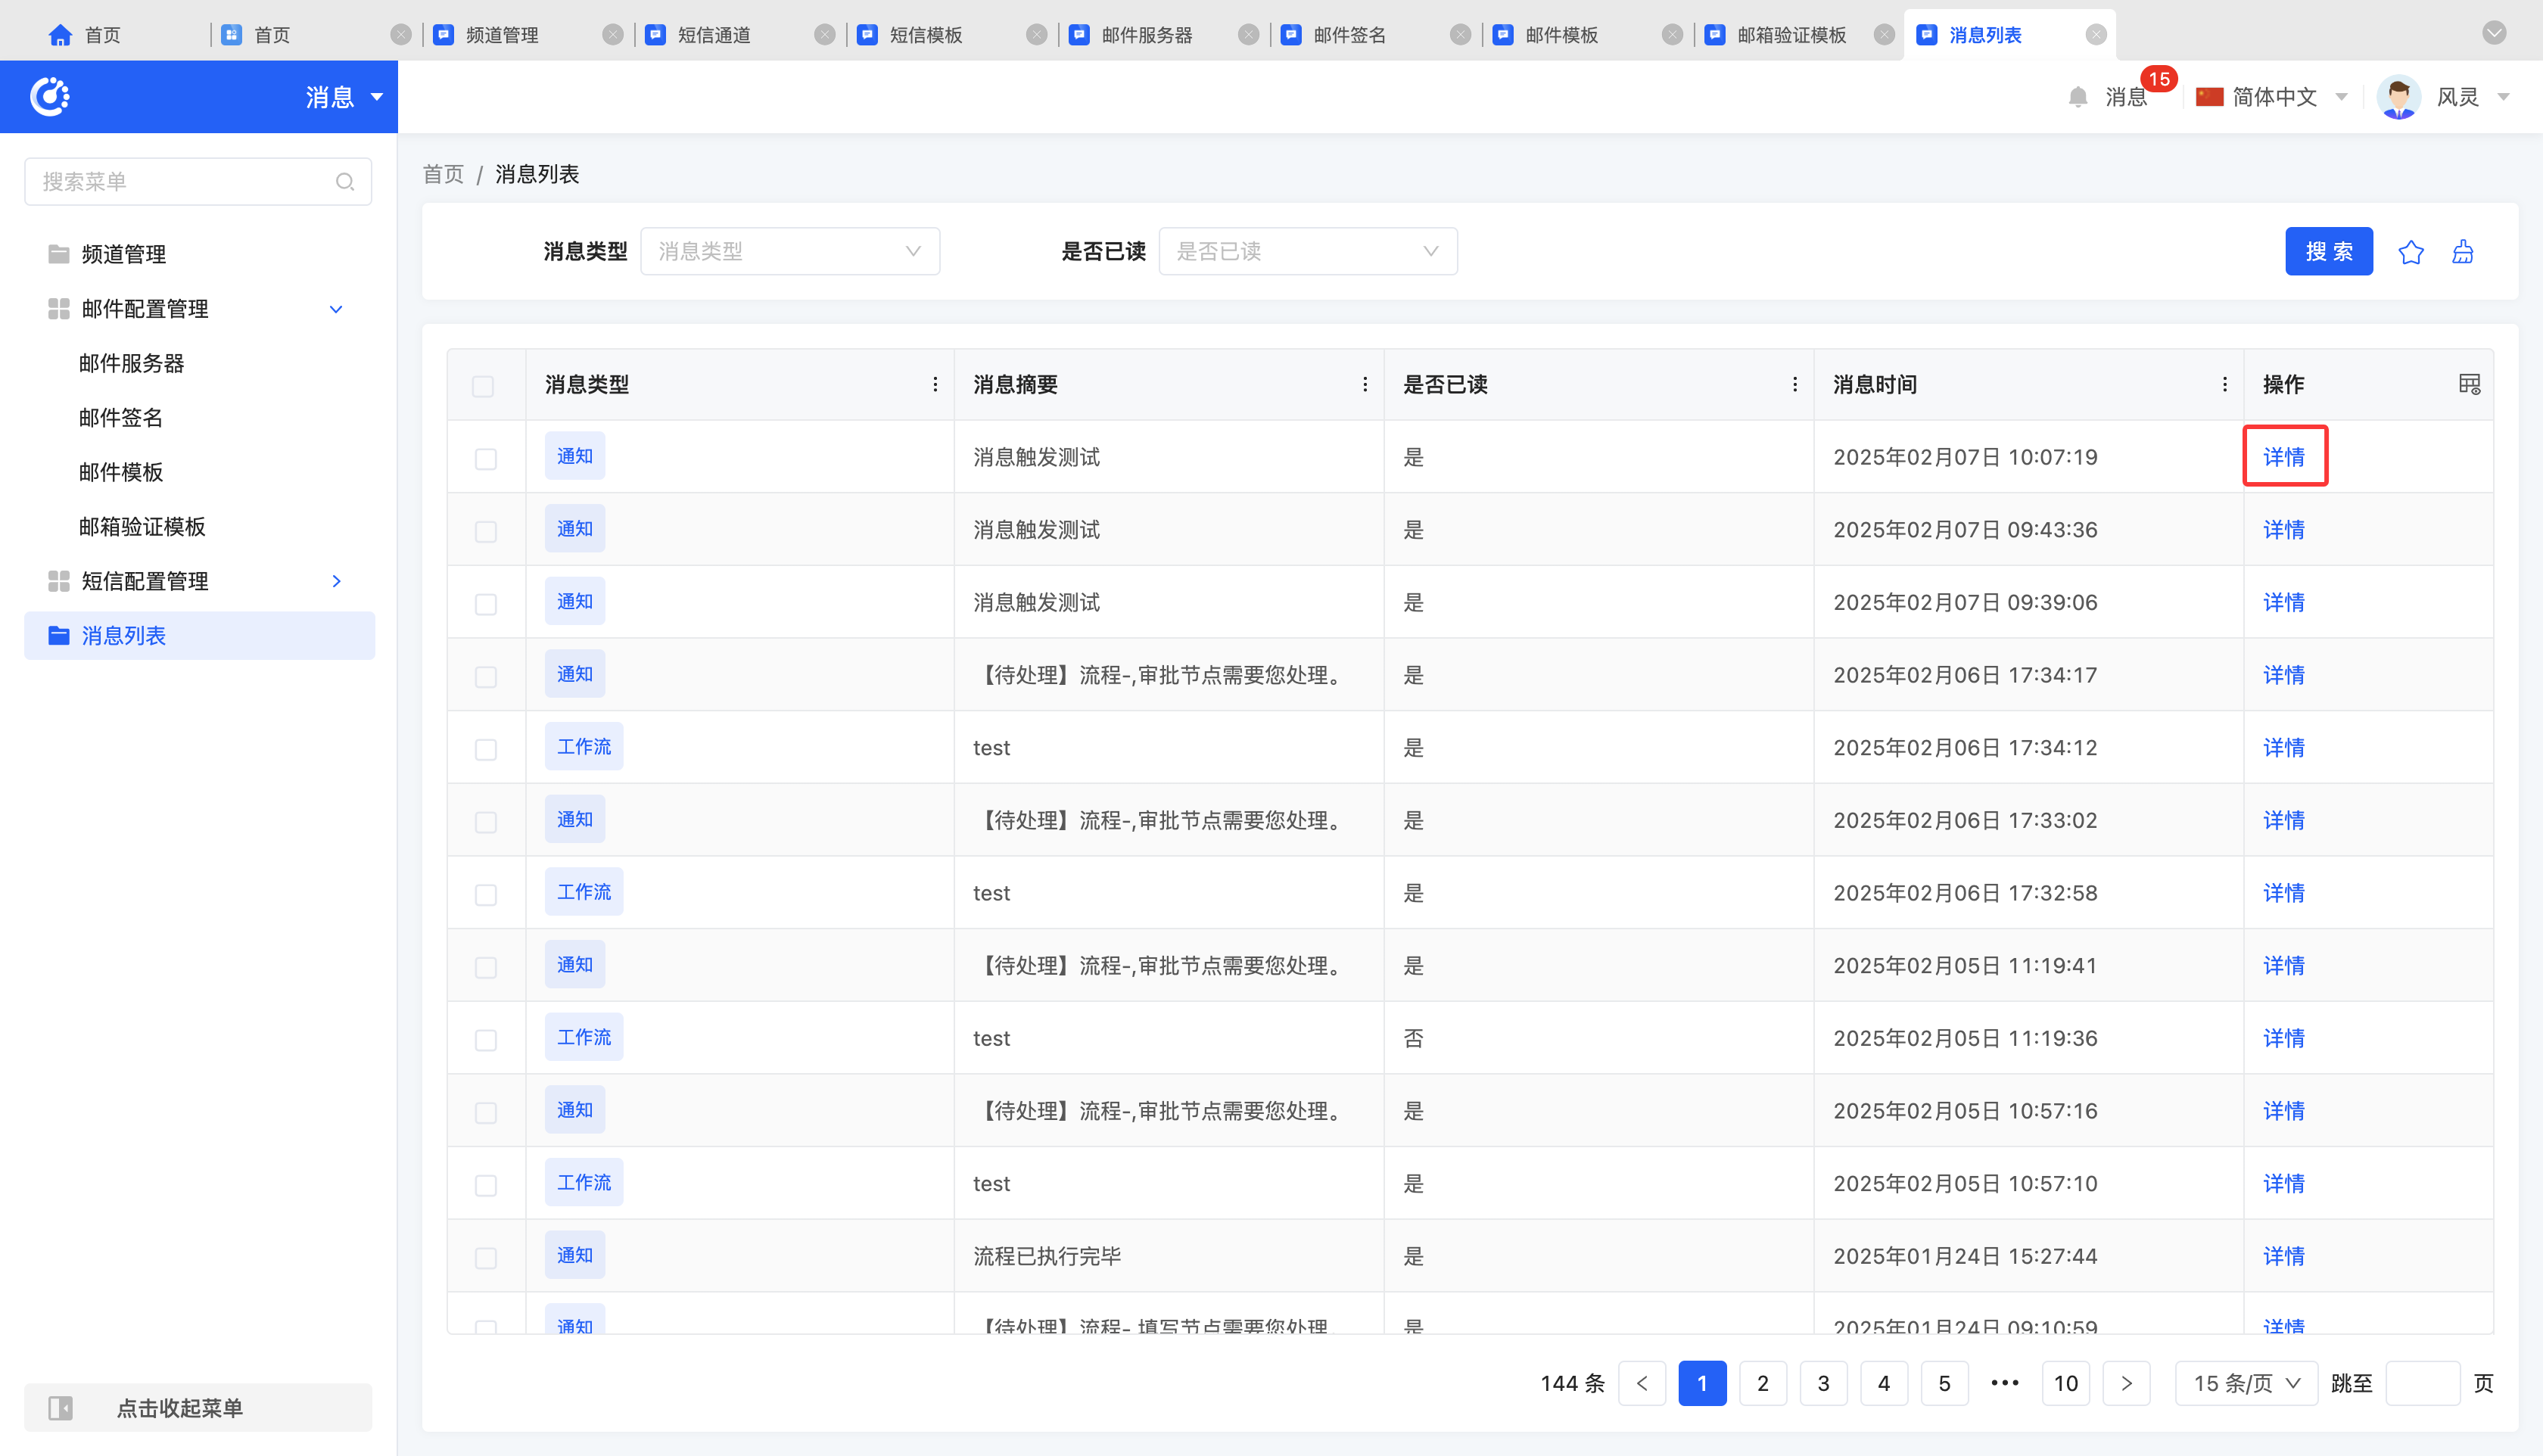
III. Message List
The message list is used to record in detail the execution status of various types of messages on the platform, covering multiple message types such as notifications, workflows, and carbon copies. Whenever a message is transmitted within the system, a corresponding execution record is generated and saved in the message list.
(Ⅰ) Filtering
1. Function Introduction
According to actual business needs, filter conditions for the message list can be customized. Under the current filter conditions, the corresponding message list will be displayed, facilitating the viewing of different message records.
2. Operation Methods
- Filter: Select or enter conditions in the filter area and click "Search" to filter the message list.
- Clear All: Click the "Clear" icon to clear all conditions in the current filter area with one click.
- Manage Filter Schemes: Move the mouse over the "Filter Scheme" icon to manage filter schemes.
- Add: After selecting or entering filter conditions in the filter area, click "Save Current Conditions". Enter the scheme name in the pop - up window to add the current filter condition combination to the filter scheme.
- Search: Enter the scheme name in the input box.
- Modify: Click "Manage Filter Schemes", select a scheme in the pop - up window, and click the scheme name to modify the scheme name.
- Delete: Select a scheme in the scheme list and click the "Delete" icon to remove the filter scheme.
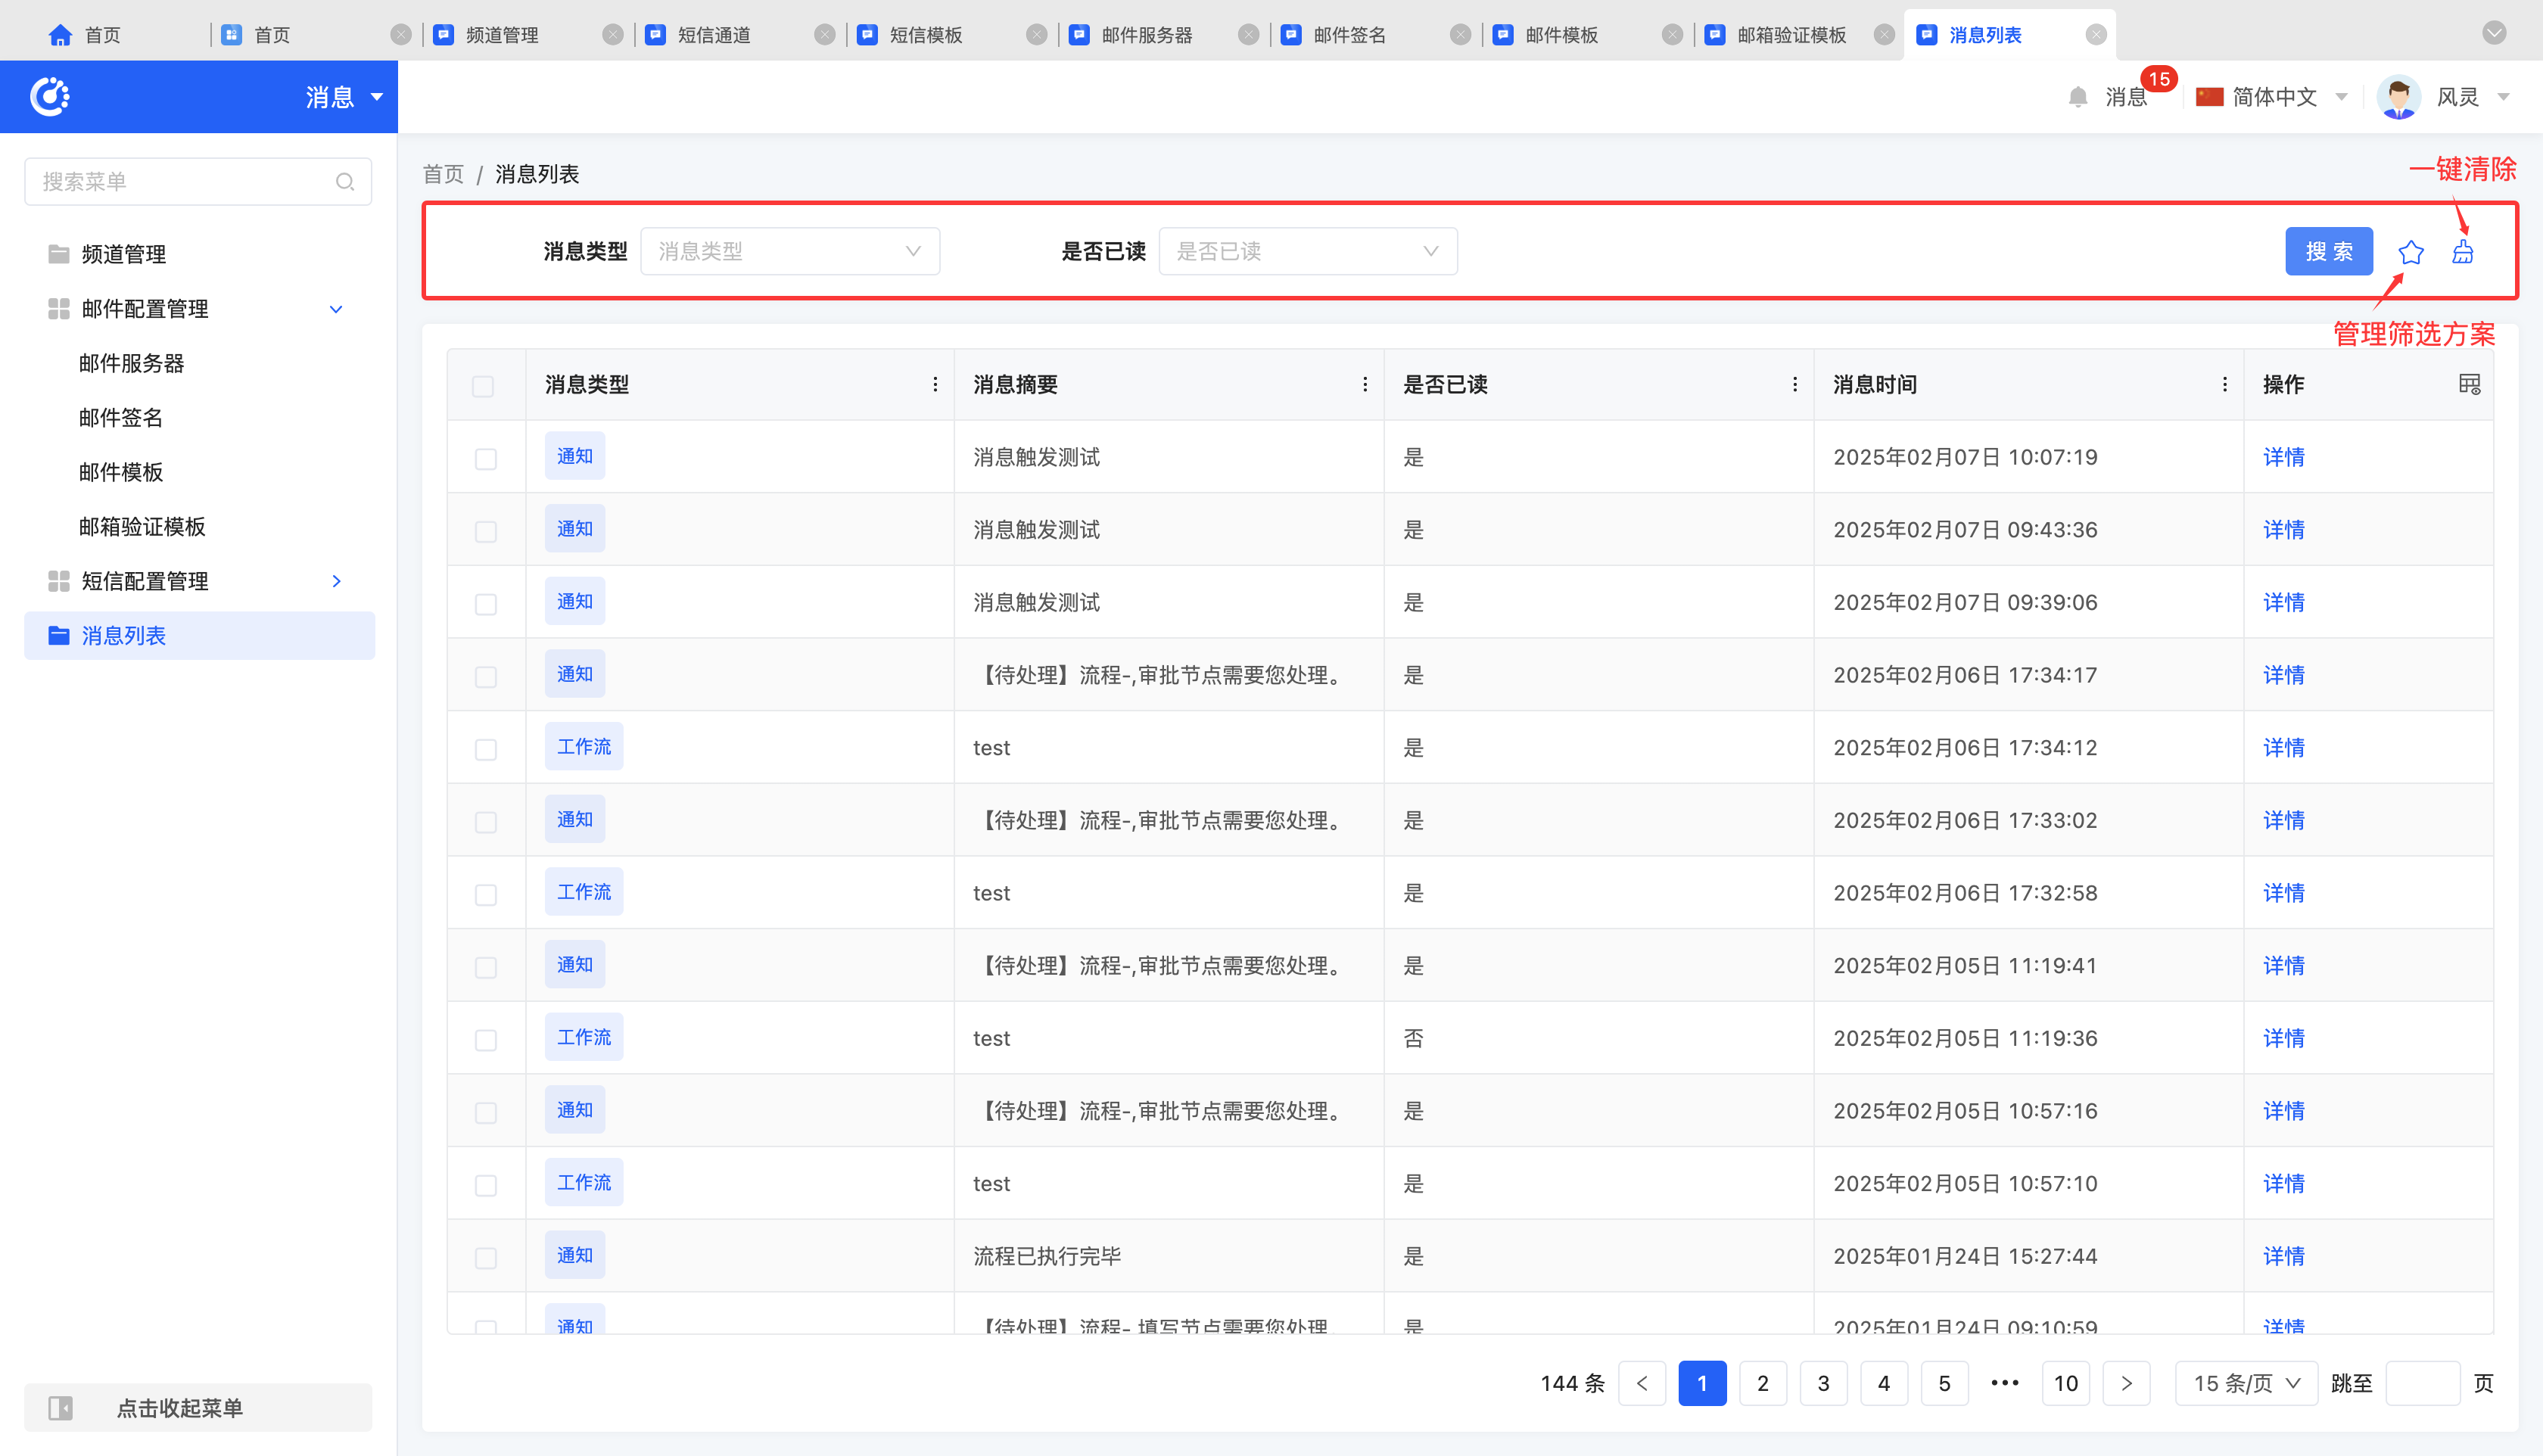
(Ⅱ) Details
1. Function Introduction
The system supports viewing the specific content of messages, facilitating message management.
2. Operation Methods
- Click "Details" to jump to the message details page and view the detailed message content.